Mad4slalom
Well-known user
Well , another epic fix underway Tim , so impressed with the way you just get stuck in and get it done . 

Plenty more episodes to come .....Always interesting and entertaining to read another episode of your journey Tim. The detail in your magazine articles also add flesh to the jobs that you share on this thread. To realise that you are self taught in all of this is nothing short of amazing,
Many thanks - much appreciated. PM sent.Great work as usual Tim and loving the new Doggy (coming from a house full of 5 doggies!) Parts are still in a box in the Corvette cave. PM me your address and I'll get one of our vans to drop them off.
Would love a look in mr cricket’s Corvette cave, to see his seemingly endless hoard of corvette goodiesMany thanks - much appreciated. PM sent.
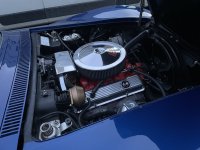 you are helping move Tim’s 72 along too
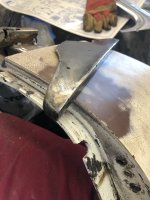
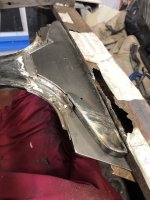
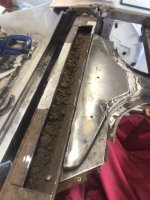
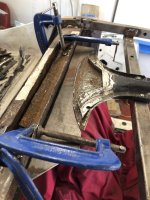
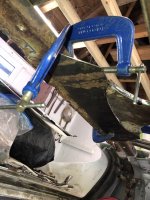
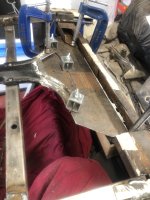
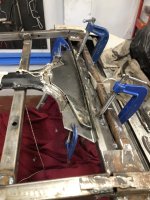
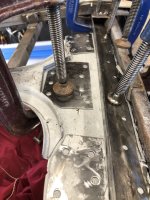
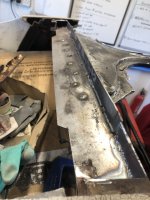
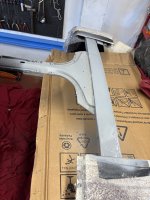
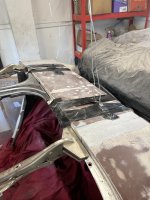
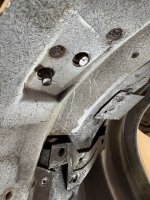
This week has been a bit busy on other things but I did manage to finish the upper patch....
View attachment 27765 View attachment 27766
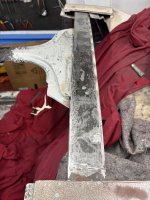
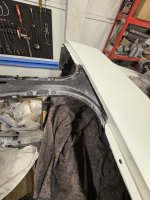
I removed the top of the birdcage bow to get access to the welds for the T-Top longitudinal frame piece thingy. The bow has been acting as a collector for an awful lot of rust flakes - not surprising that there were so many holes.....
View attachment 27767
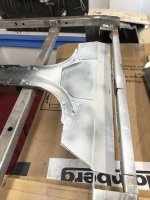
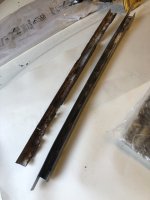
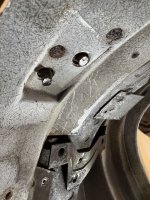
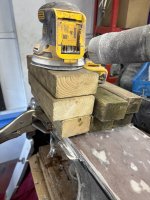
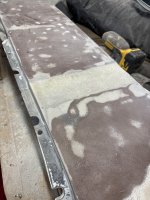
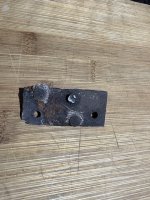
Next: to complete the lower patch which attaches to the underside of the birdcage bow...
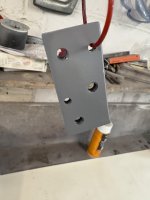
View attachment 27768 View attachment 27769
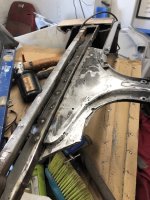
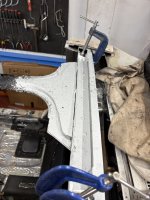
... and then try it out for a welding dummy run although I probably won't use these weld clamps as the join is curved and the clamp is straight so the clamp pushes the pieces of metal further apart than they should.
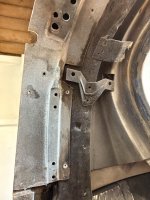
View attachment 27770
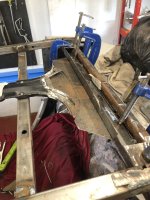
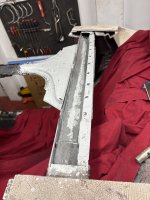
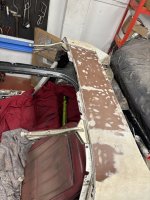
It all seems to be going together ok at the moment (famous last words) so the next job is to unpick the spot welds on the birdcage bow and construct a new section to replace the rusty bit..... A 700mm square of 2mm steel arrived earlier this week so I think I have everything required to do this.
I also need to start thinking about how this all goes back together as the positioning and sequencing of the puddle welds is going to be important as I don't want to do any welding up side down....(is it even possible?)
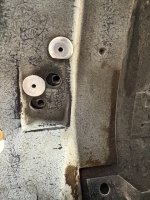
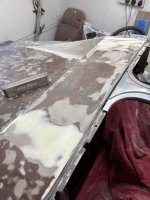
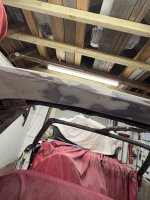
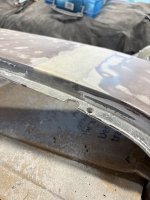
Sorry Mad I hadn't seen this post and your Vette is looking very close to an LT-1 set up now!Would love a look in mr cricket’s Corvette cave, to see his seemingly endless hoard of corvette goodiesquite a few of us have benefitted from his supply,
Myself , a pr of LT 1 valve covers and numerous other bits , all at great prices and even a free nos tyre donated to make a clock. Thank you stuartps , still hunting for an LT1 or big block short hood .

. Glad View attachment 27733you are helping move Tim’s 72 along too
what a great forum this is !

Sorry Mad I hadn't seen this post and your Vette is looking very close to an LT-1 set up now!
Having just seen Tim's new post and the progress made I'll get the goodies I have to one side for him over to him asap as I'm in to the last stages of completing the Corvette cave so I need to clear out stuff and organise the last few bits. I NEED to get rid of 3 x 6' x 3' glass display cabinets that came with 178 model Corvette collection I purchased but they don't work for me so they're in the way and need a new home FOC
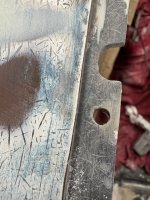
Absolutely fenom , phenhom , fernom in ,…..Next thing to do was to finish the bow glass fibre and give it a coat of protective epoxy primer. Starting with glazing putty top and bottom ...
View attachment 28874 View attachment 28873
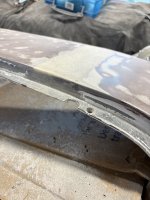
Then repairing the holes that help align the chrome T-Top trim which were all damaged....
View attachment 28882 View attachment 28883
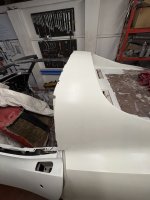
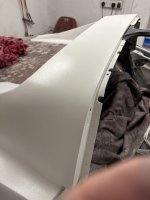
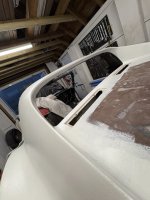
After multiple iterations of fill, sand, inspect, repeat.... two coats of epoxy primer were rolled on. This is to protect the original glass fibre and prevent any dampness from getting into the original (somewhat hygroscopic) finish.
View attachment 28884 View attachment 28886
View attachment 28887 View attachment 28889
The eagle eyed will notice that a door has been fitted - progress! The rest of the old paint has been stripped from the back of the car and the next job is to finish off the primer all over the rear. More soon.....
Yes - it's beginning to take shape! I have promised the organiser of our local car show that I will have it on the road for the next event in July so I'd better get a move on.Coming along nicely
Many thanks - you are too kind....Absolutely fenom , phenhom , fernom in ,…..…
“BRILLIANT “ work Tim

When in July? Hopefully it won't clash with the Nationals, as I'm sure there are plenty of us keen to see it there.Yes - it's beginning to take shape! I have promised the organiser of our local car show that I will have it on the road for the next event in July so I'd better get a move on.
It's a MUST that Tim brings it to the NationalsWhen in July? Hopefully it won't clash with the Nationals, as I'm sure there are plenty of us keen to see it there.
Much as I would like to, that's a bit of a stretch! It's a 300 mile round trip for me and I need to get some shakedown miles in to make sure that everything is working as it should, safely and reliably. 2026 definitely but let's see.......It's a MUST that Tim brings it to the Nationals
CCCUK Corvette Nationals 19th & 20th July 2025 Sywell Aerodrome
As mentioned in the latest Vette News, we have booked Sywell again for 2025 following this years successful and sunny event so please put it in your diary for next year. Accommodation at the Aviator hotel on site is fully blocked for the weekend so please don't try to book until we notify...www.corvetteclub.org.uk
