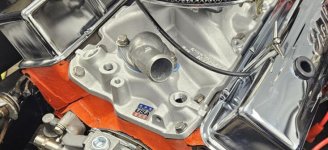
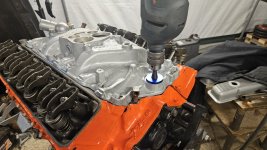
First C3 Vette and luvin it :)

Waynio

CCCUK Member
Could be an aftermarket removable crossmember? I've seen them for sale online.
Maybe so, i just had a look and i see them aswell. Must of been out for a long time as this does look original. Just by the welds and the welding is crap on these cars and looks much the same as the reast of the car.
These cars maybe around 40 plus years old but by eck they were bad welders. I am no welder but i can weld better than them haha.
If i ever fully rebuild this in the future or maybe another ill redo them and add some of the mods they get. Its mad how they lasted this long, could be the lack of power they give out. Then though......the BBC Vettes had a little more power. Or did they weld better on them haha.
 

Waynio

CCCUK Member
Well its been a bad time in the family and this has been my needed break.

Not a great deal but feels like its getting there quick now. Still no rush but i think its going to get done before i need. well not need but expected so i mite slow it down a bit, as in do things that dont need doing now and was going to do over the summer.

As i have done the front end i wanted to get the rear brakes done, only the brakes as the rear suspension etc will be done next winter.

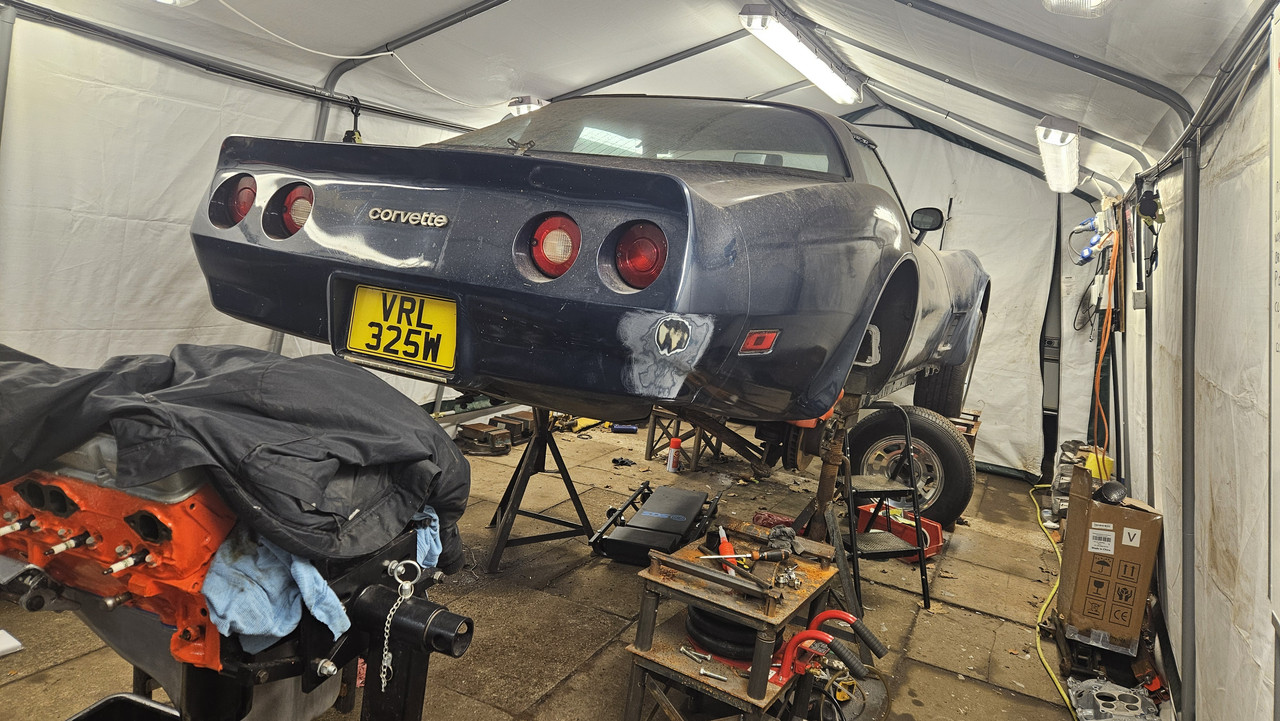
So sat the front end down on the stands and stood the rear end up on axle stands.


20241130-135254.jpg


20241130-135302.jpg


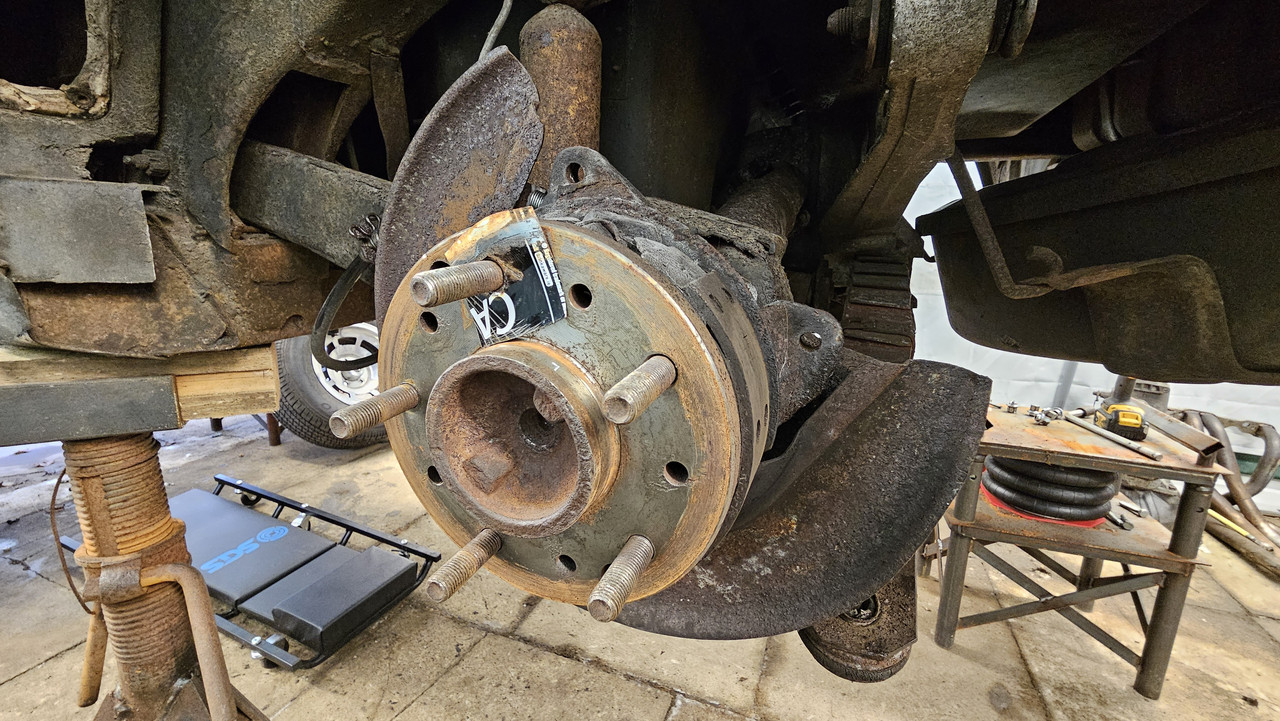
On removal the the discs i found a,,,,,,lets say modification. And with such bad taste. A section of a can of Carling. By eck the previous owner lives i Cider capital of the UK, down Cornwall Could of use a Scrumpy can lol.

20241130-140553.jpg


20241130-143815.jpg


I could not work out what the heck it was for or why it was fitted. Until researching to find out thats its a way to true up the discs. As these set ups are made with the discs rivetd to the hubs they are machined/trued up during manufacture. So on replacement of new ones they need the same doing.

For me though as the discs are in good order and its been like this for some years. i spoke to the previous owner and he did the fettle years ago.


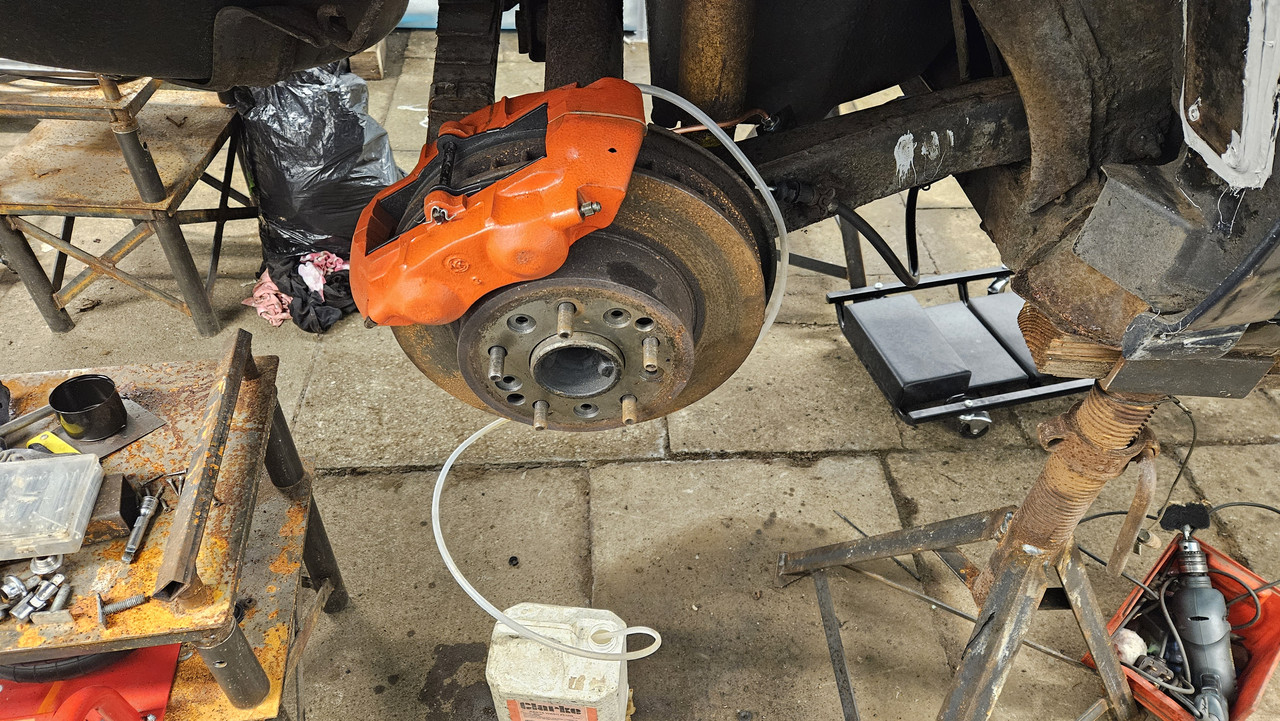
The plan now is to just rebuild the calipers. fit the braided lines with new hard lines to the braded / hard lines.

20241130-141317.jpg


The calipers now, i thought one side was seized as the pistons would not spring out. Then i stripped them down to find, one side had the modified O ring seals and one original lip seals.. And the lip sealed side had the springs fitted, where as the other side didnt. Although they dont need the springs fitting.

I have put in another order from Claremont Corvette for O ring seal kits.

20241130-151146.jpg


20241130-151150.jpg


20241130-151209.jpg


This dam paint ont he calipers is darn good stuff as its being a reat sod to get off. Its taking a good amount of snad blasting, heat does not work much and i dont want to over heat the calipers either. Paint stripper it may be. I have run out of Nitromors so ill be getting more soon. .

20241201-120407.jpg


Ill get to sorting them out later.


Bits of the engine next.
 

Waynio

CCCUK Member
I made up the rear lines from new braided flexi to calipers. Again with copper i had.

I have tried to clean back the calipers again to paint them but no luck, i need some decent paint stripper as heat and sand blasting is not doing it to well.

20241201-120407.jpg


20241204-112443.jpg


Also on removal and strip down of the rear calipers i notcied one side had old type Lip seal on the psitong, on the toher the uprated O ring seals. So today...or was it yesterday, i ordered another O ring set.

O ring


20241130-151150.jpg


Lip/Umbrella seal.

20241130-151209.jpg


i was going to make these tools, but the tenner each i didnt want to faff about making them


One is the oil primer and the other black threaded bar is to fit the Harmoinc balancer.
20241204-112305.jpg


Got the gubbin needed. I got a cheap set of bolts, these will only be used for the Ancilleries though, not the heads etc 304 SS so i used thread lock and got some new RTV.


20241130-144939.jpg


20241202-124821.jpg


Join the dots and in a bit ill show how i timed it up.

20241202-124907.jpg


Tool worked great. didnt snap, well if used correctly it shouldnt really.

20241202-190205.jpg

20241201-135756.jpg
 

Waynio

CCCUK Member
Good things and bad things, as always.

I have near finished the engine. All went well.

Except for the carburettor. I was rebuilding the 1975 Quadrajet carb and ordered the rebuild kit and a manual for helping to rebuild it and tune it etc. Only to find the carb i have is the worst of the Q Jets and even in the manual it says its better to buy another carb.

So in the end i got a new Edelbrock AVS2, with an adaptor though as the inlet manifold is a standard chevy. This gave it another .850 inch in hight so along with the aftermarket carb its going to be high, a sin sticking through the bonnet.


This is how set the valves up and timing.

Old school and i havnt done it for many years so lets see if it will work. More to it than levelling the valves mind you.

20241203-112349.jpg


20241203-122523.jpg


Then filled wkith oil and gave it a good prime. I was surprised and the torq the primer needed from the drill to do this. near burnt my bloody drill out.

New Fel Pro gasket, perfect fit.

20241217-192617.jpg


20241217-221032.jpg


20241217-221102.jpg


20241217-224226.jpg


470992012_10236177154553928_6535632338140951277_n.jpg


And with this filter, which will not be used or the aftermarket filter will be a few inch to high.

470795165_10236177155193944_2207441499288387711_n.jpg


I was going to make a bonnet scoop. and would of enjoyed that as i like messing with GRP.
Though i decided to just buy another inlet manifold and filter which should drop the set up low enough to have to use a scoop. Be a shame aswell to do it really. these cars have dam good lines .
 

Waynio

CCCUK Member
So to end that for now ill do some body body work while the parts arrive.

471160541_10236200918668016_4670506727111023857_n.jpg


471158452_10236200919788044_4829044385763862639_n.jpg


Not a great deal to do. I will be painting it this spring or summer so these are just touch ups.

471251346_10236200921108077_8305647736510393216_n.jpg


Just paint damage

View attachment 477182
471270486_10236200921748093_8730897252648679327_n.jpg


View attachment 477185


Bit of a gouge here.

View attachment 477186
470870235_10236200921548088_2635761470726222234_n.jpg


This the worst spot. Looks like heat damage with the softness and delamination.

View attachment 477187
471268442_10236200922668116_8188300001565812226_n.jpg


471273741_10236200922148103_1360934894541321544_n.jpg


So i dug out the GRP gubbins i have. I have done a test spot to see if its any good, i cant remember how long i have had it.


A bit lumpy as i havnt mixed the filler in much. Ass aid just a tester.
View attachment 477192
471230287_10236200920988074_5288645531816979332_n.jpg


I had to take te filler cap to the pait shop to get a match as they couldnt find it from the paint code.


View attachment 477193
471207978_10236200921948098_5805036618746544705_n.jpg


View attachment 477194 471251346_10236200921108077_8305647736510393216_n.jpg
 

Waynio

CCCUK Member
Hope you all had a good one. Me i have been busy with a normal day trying to keep busy.. Fixed ( i hope T`s car ) crappy modern Merc that leaks haha.

Mine is so much closer to be done. To end the situation with the paint not coming off the rear calipers, i dropped one and snapped a bleeding bleed screw lol. no biggi, i found a used set on ebay and get a good pair for £40 to rebuild with the O ring conversion.

Quick sand blast then paint and done.

20241225-105522.jpg


I fin a Dremmel good for cleaning the bores if needed. I use the polishing wheels you can get.

20241225-105017.jpg


20241225-111159.jpg


Just a quick whiz around is all that is needed.

20241225-111534.jpg


Some folk say there springs are not needed but then some say they are. I decided to refit them.

20241225-110623.jpg


A lot easier to fit the cylinders back in aswell towards the Umbrella/standard type. They just push in then a matetr to tap the dust cover in.

20241225-110839.jpg


The front ones have been tapped in, dont need much.

20241225-110914.jpg


And ding dong there we go. Tine to fit them now

20241225-154103.jpg


Ah best fit eh pads, that would help. good how they used the same pads for front and rear. just smaller pistons used in the rear.

20241225-154456.jpg


20241226-114522.jpg


New copper lines made up, makes fitting easier. And cheaper than SS ones. A few quid.

20241226-114541.jpg
 

Waynio

CCCUK Member
Got another job out the way, easiest yet.

It was the wobbly to the windows. I got these pads a few months ago and fitted them,

20241226-192339.jpg


Just a bolt and catrefulyl sldie the old ones out

20241226-192633.jpg


Not to easy to see the gap but there is a good few mm,

20241226-192642.jpg


then tightened up

20241226-192824.jpg


I sooo cant wait to clean it, dam manky or what.

Filled where need be and prepped for painting when i can

20241223-134140.jpg


20241223-134942.jpg


20241223-135726.jpg


No rush for that to be done, got all i need though ready, 2k and 3k sand paper. paint and laquer. No primer though as i forgot. but then ill be painting it this summer so not bothered about a perfect finish. It will be taken back to GRP. Just hide the damage there si there for now will do.

That was Xmas day and Boxing day. So i chilled then for half hour.
Before i finished the polishing of the last weel, one job that i dont like doing.

20241226-195804.jpg
 

Waynio

CCCUK Member
What a bleedin day. woke at 4am, could not sleep, got up at 5am, cant play out as to early. Neighbours put up with me enough as it is. So i tieded the shed a bit. THEN remebered i did have the gear box oil i need today. Or wire wool.. or locking washers. Nothing like unsorganisation hey haha

So went in for another brew. 8am came around and was out. getting DILLIGAF ready for engine to go in.

Lovely day for it aswell

472182080_10236266951838804_6410539894511256745_n.jpg


This time i decided to remove the front wheel to aid getting it back in. It was a bit to tricky getting it out with the wheel on.

Ah the other night i fixed the firewall, i dont know why or how but a smallsh hole had delaminted, easy fix though.

T has noticed the electric bill going up a bit lol.

471268442_10236200922668116_8188300001565812226_n.jpg


Bit of ally mesh and brigding filler. The paint i got is a good match aswell,

20241229-152358.jpg


I have to appologise now but as i was so busy i didnt get many picks.

20241230-083607.jpg


Had to shift the caravan again to make room. Cant wait now for the motorhome to be gone.


20241230-115557.jpg


I fitted it all back as it came out, so engine and box. makes life easier. The clutch i am sure you all know how to do. I didnt get many pics but for the removal of the pilot bush.

20241230-112102.jpg


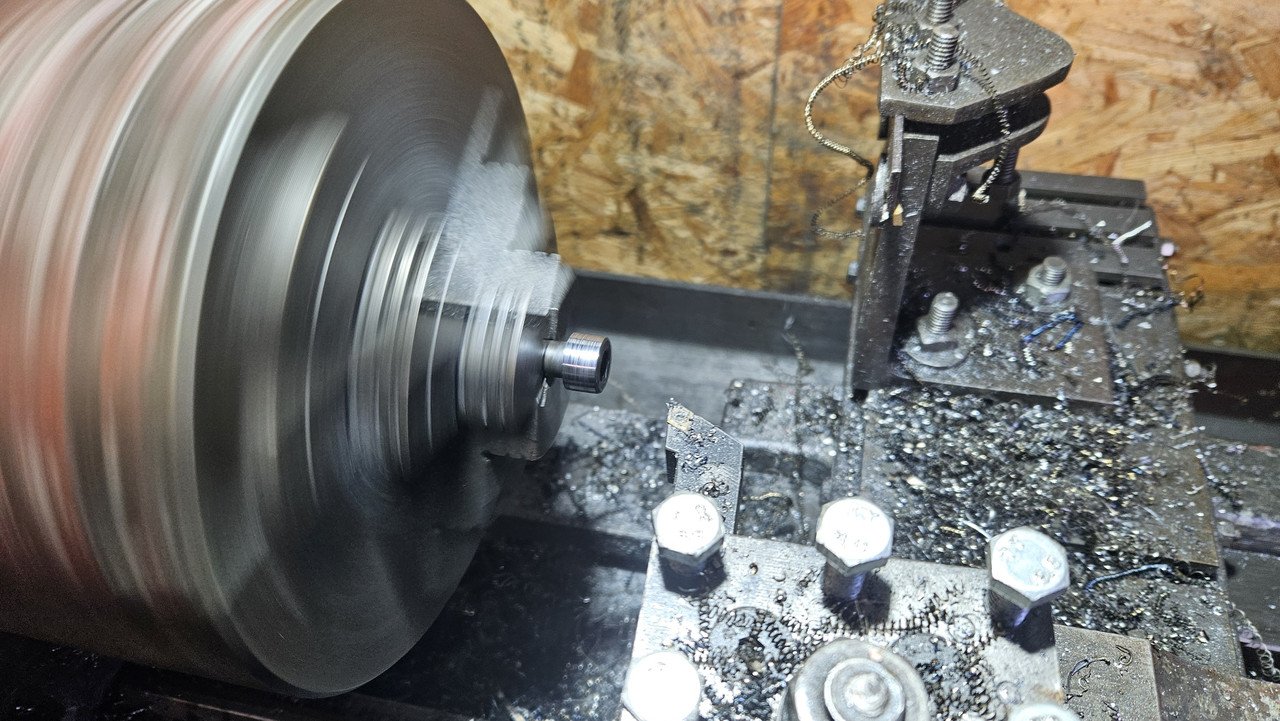
I didnt have a bar or bolt for a good enough fit so i turned down one.

Only needed a mm taking off.

20241230-111927.jpg


usual way, pack the hole with grease bit by bit and hammer the bolt in to hydraulicly push the bush out.

20241230-112648.jpg


20241230-112854.jpg


20241230-112948.jpg


And out it popped.

20241230-112946.jpg


then wack in the new one, well you know., and fit clutch.

20241230-115550.jpg


20241230-131950.jpg


was about thia time the rest of the engine bits arrived :) to tired already to bother to oprn it.


20241230-130638.jpg


thinkign of it what else can i say or show to bget it in. bit of a faff to bet the enginemount bolts lined up but managed it after a few choice words and help of a cider or teo.

20241230-135203.jpg


20241230-135210.jpg


20241230-150908.jpg


to tell the truth it was a pain in the ****. trying not to let the engine touch anything. being on paving flags makes it hard. Still its in and tomorrow ill put the inlet etc on.

I removed the rest of the electricery gubbins aswelll, just the Lamba sensor gadget that was fitted for tuning the carb.. Would of helped witht eh Q`jet carb but this new Edlebrock AVS2 is easy to set up.

Ok i hear a Vodka n coke calling me :)
 

Waynio

CCCUK Member
That's a good days work
Could of been a lot better really. I couldnt find the engine mount bolts. Had to go back to get some thread lock aswell. And got stuck under the car / engine hoist trying to line up the engine mount bolts haha. I need to be 16 again haha. all that faffing must of wasted atleast an hour. Still got stuff to do tomorrow like fit he rest of it.
 

CaptainK

CCCUK Member
I'm impressed what people with skills can do in the time allotted. For comparison, I like to tinker with my old cars, and over the weekend I spent a whole morning in my garage and effectively all I did was fit a bracket to my Corvette, and replace a side indicator on my FTO :ROFLMAO:. Its a shame no-one doing serious Corvette work like you lives nearby me as it'd be great to get better tinkering experience.

Keep up the good work :cool:
 

Waynio

CCCUK Member
I'm impressed what people with skills can do in the time allotted. For comparison, I like to tinker with my old cars, and over the weekend I spent a whole morning in my garage and effectively all I did was fit a bracket to my Corvette, and replace a side indicator on my FTO :ROFLMAO:. Its a shame no-one doing serious Corvette work like you lives nearby me as it'd be great to get better tinkering experience.
Keep up the good work :cool:
Oh i have then days, make a big plan ( reason i dont do plans now ) then very little if anything gets done. Where are you anyway ?

As for today, taken it easy.

I am shattered today so not dome much but looking good if i say so my self. I got the gear selector rods connected up and the G box mounting bush done. Then i cracked on with assembling the rest of the engine.

This the inlet gaskets being flattened out, well i hope so as they arrived kinked. I knew i bought these steel billets for something.

20241231-091917.jpg


471663136_10236270214600371_7405848846819085886_n.jpg

471730503_10236270214440367_3070404502516559264_n.jpg


A few people asked me why i made the car lift so high. I guess they dont work on cars as doing this did my head in. I am not 20 anynore and like my comfort when working on cars. not lying on my back. Still got it all done.


20241231-103143.jpg

20241231-103153.jpg

20241231-105808.jpg


Just prep for fitting the inlet. bit of wire wool and spray penetrant then brake cleaner.

20241231-111432.jpg
 

Waynio

CCCUK Member
And to continue it


this lot arrived as we know

New inlet/air filter, rocker covers. cheapo but better than the ones i sand blasted, and i am tart at times :)

20241231-111923.jpg


20241231-112733.jpg


Near fitted wrong carb gasket

20241231-114313.jpg


so this one was fitted


d80adb62-e61f-4fad-8116-3011524a55c2.jpg


Looking better now. Infact LUVIN IT :) :)

20241231-125754.jpg


Again daft sod me didnt buy enough sets of rocker cover T bars and spreaders.


20241231-125818.jpg


Once i fitted it i thought it looks a bit high, Very high so T came and gave me a hand to trial fit the bonnet. and it fits just nice.

So now its trying to work out what else i need. i have the fuel lines, well need a bit of 10mm to join to the main feed as its a bit short. Need to also work out what vaccum feed i need frot the inlet. Ill chill out tonigth and see whats what.

Oh yes and one other thing i didnt clean up was the fan

471728916_10236274105137632_4044992508287030638_n.jpg


But 15 mins in the blaster and its ready for paint. MMmmm what colour to go for. Defo needed heat to get the bolts out. there were solid as expected really being steel into Aliminum

472198962_10236274105497641_1398352125590648158_n.jpg
 

Waynio

CCCUK Member
So a question

The three outlets/inlets in the manifold near the thermostat. i know the one on the far left is for the heater core. What would i use the other three for. I am running straight carb.

The on thats at the back will be the one to the brake servo vaccum

20241231-125818.jpg
 

MilkyNoSugar

CCCUK Member
Have you fired the engine up yet?

Apologies if I am telling you something you already know.

You may have read my Engine Issues thread. Having rebuilt the top end of the engine we fired it up for a few minutes, but clearly there was still something wrong and a new noise emerged as the engine started to warm up. We turned it off, checked a few bits and tried again, still the same so switched it off and pulled the engine out to send it to a specialist.

The new cam and followers are shot after no more than 10 mins running. The engine specialist said that as we had not been able to follow the correct start up procedure due to the con rod bearing failure, the cam and not been heat cycled and had worn prematurely. I think he said it should have been run with a high zinc based oil for 30 mins at 3500 rpm, then switched off to full cool down.

I would definitely make sure you know what the correct break in process is for the rebuilt engine before you fire it up.

Again, apologies if you know this already, but if I can save you knackering a brand new cam then it will be worth it.
 
Top