First C3 Vette and luvin it :)

Chuffer

CCCUK Member
POR 15 is highly regarded by many - I used it on my car when I first started on it. I didn’t find it the easiest product to use tbh. You have to do the etch coat which is highly toxic or bad for you in some way I recall? The paint itself will not come off your skin for weeks if you splash it and brushes are single use only - can’t be cleaned very well.
Then I painted some parts in silver POR15 and it didn’t harden - just stayed soft even after a week. Warming didn’t help. Frost blamed me for bad preparation and showed no interest in resolving so that was it with me and POR15. Cleaning all that unset paint off was an absolute sod. Just my experience and I reckon a bad batch of paint but it put me off using it.
Sounds a right PIA .:(
 

Chuffer

CCCUK Member
I dont think i could pick up the hammer these days haha. I would of probably made a press for that aswell. I usually use a lump hammer and a few large sockets etc, old school like you say. First time i have used a press but it was needed to get the control arm bushes in. I am sorting a shopping list out for end of this year so ill mite just well replace the wheel bearings aswell. The wheels had slight play in them. could be nipped up. Better to replace while its in bits though, the control arm ball joints are a bit stiff with old hard grease so ill be replacing them again maybe for sake of another £60 or so.

While am at it the shopping also has new brake pads, dampers and springs, all because of the strip down. Or should i say a stripped head bolt from the start haha.

At the minute i am having trouble with this.

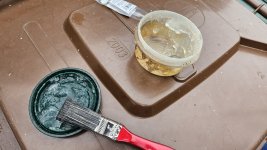
I have treated as with all other parts i have painted with this stuff.

View attachment 28381

For some reason after three attempts the chassis is coming out like this. each application is wetted out for 20-25 mins, washed off then left to before i paint it.

View attachment 28382

I have given up now though after three attempts, going to paint the front section along with the chassis rails this week. tonight possibly. Using the Direct to Metal POR15 Topcoat black.
Sounds like a good plan to to the bearings as well now you have stripped down this far , then you know it`s all ok for the future . As for that big 28 pounder hammer , wielding it was easy , I just thought of anyone that had really pee`d me off and let rip !! :ROFLMAO:
 

Waynio

CCCUK Member
Yes i found it had great reviews and used by many on a commercial basis for there vehicles.

I found the Rust Preventive paint. a reat pain in the arse to apply, runs to easy even with a thin coat. I have to yet apply the black straight to metal chassis paint. but that will be going over on its own. its said to get even better results over the rust preventive paint.

If i was to let rip with a hammer of any sort there would be little left of anything if i thought of people that annoyed me. To many idiots these days. OK i am getting old. But my Hero is after all Victor Meldrew :)
 

Chuffer

CCCUK Member
Yes i found it had great reviews and used by many on a commercial basis for there vehicles.

I found the Rust Preventive paint. a reat pain in the arse to apply, runs to easy even with a thin coat. I have to yet apply the black straight to metal chassis paint. but that will be going over on its own. its said to get even better results over the rust preventive paint.

If i was to let rip with a hammer of any sort there would be little left of anything if i thought of people that annoyed me. To many idiots these days. OK i am getting old. But my Hero is after all Victor Meldrew :)
Me and you both Waynio , my wife recons they modelled Victor Meldrew on me !! The older I get the more I prefer animals . 😡
 

Chuffer

CCCUK Member
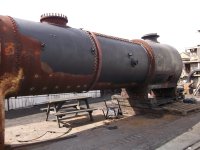
Vis a vis black primer , I will look up the manufacturer of the paint we use on the steam loco restorations . It dries within minutes to a satin black smooth finish that is a joy to work with . I have been painting the bare steel of the boiler DSCF3517.JPGwith it and it must be good to withstand the high temperatures it is subjected too . Don`t suppose it`s cheap though . I will back on the job on Friday so will note the details of it .
 

Chuffer

CCCUK Member
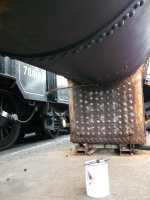
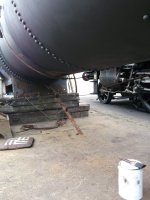
Been back on the job today and looked up the spec of the paint as mentioned in previous post . It`s Thomas Howes Heat Resistant Matt Black P0027 - UN1263 and heat resistant to 450 Degrees C. Touch dry in 30 minutes . We also use T&P Williamson Anti Corrosive Red Oxide Primer too . Finally finished the power wire brushing and painting the underside of the boiler barrel today by working upside down . DSCF3622.JPGNow I know how Michael DSCF3623.JPGAngelo felt painting the Cistene Chapel !!!
 

Waynio

CCCUK Member
Been back on the job today and looked up the spec of the paint as mentioned in previous post . It`s Thomas Howes Heat Resistant Matt Black P0027 - UN1263 and heat resistant to 450 Degrees C. Touch dry in 30 minutes . We also use T&P Williamson Anti Corrosive Red Oxide Primer too . Finally finished the power wire brushing and painting the underside of the boiler barrel today by working upside down . View attachment 28415Now I know how Michael View attachment 28416Angelo felt painting the Cistene Chapel !!!
Reminds me of days being stuck under boats for days sanding and painting them, i sooooo dont miss that.
I googled for the paint but not able to find any for sale, but for stove paint. which ,may well be the same or similar as the code P0027 come up on there website.

Anyway i have once again degreased and cleaned back the front end of the chassis. So this weekend i will give a paint if its dry enough. Ill use the paint i have. its good stuff but a pain to apply really. I have some of the Rust preventative lef, not much but maybe enough, but plenty of the direct to metal. Either way job will be done so then i can start to put it all back together again and get it down back on its wheels.

Anyway. other stuff

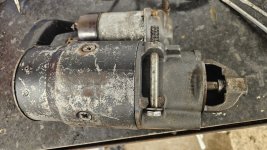
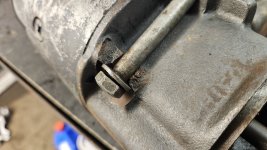
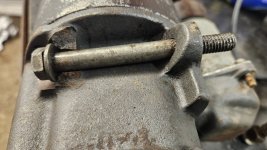
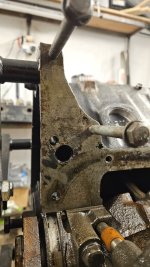
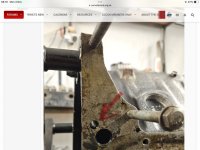
After cleaning up the starter motor i noticed this

20241028_192712.jpg

20241028_192725.jpg
I was tempted to repair it, and then thought sod it buy a new one.
Then i decided to fettle it. Ill get a shorter bolt and fit that to a flattened out flange once i finish it and bolt through the bottom flange only. It may work it may not. But why not try as i can still get access to the bolt.

I have started to grind back the flange for a good flat surface for the bolt head to sit against.
 

Attachments

  • 20241028_192733.jpg
    20241028_192733.jpg
    228.4 KB · Views: 3

Chuffer

CCCUK Member
Reminds me of days being stuck under boats for days sanding and painting them, i sooooo dont miss that.
I googled for the paint but not able to find any for sale, but for stove paint. which ,may well be the same or similar as the code P0027 come up on there website.

Anyway i have once again degreased and cleaned back the front end of the chassis. So this weekend i will give a paint if its dry enough. Ill use the paint i have. its good stuff but a pain to apply really. I have some of the Rust preventative lef, not much but maybe enough, but plenty of the direct to metal. Either way job will be done so then i can start to put it all back together again and get it down back on its wheels.

Anyway. other stuff

After cleaning up the starter motor i noticed this

View attachment 28419

View attachment 28420
I was tempted to repair it, and then thought sod it buy a new one.
Then i decided to fettle it. Ill get a shorter bolt and fit that to a flattened out flange once i finish it and bolt through the bottom flange only. It may work it may not. But why not try as i can still get access to the bolt.

I have started to grind back the flange for a good flat surface for the bolt head to sit against.
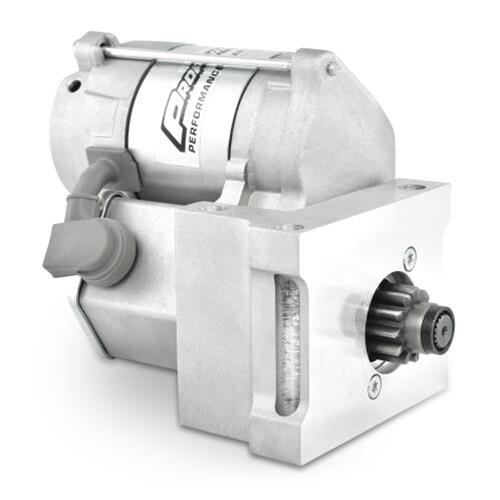
It`s a miracle the starter motor didn`t shake itself loose from that failed fixing ! If was me I would bin that heavy old lump and go for a new lightweight high torque starter motor . They spin up the engine far better with less battery drain and you you won`t suffer from the classic ` heat soak` starter motor problems as they are considerably smaller than the standard unit so have a larger air gap between starter and block / exhaust .
As for the paint , I couldn`t find a price either on the web but the company is in the West Midlands .
 

Waynio

CCCUK Member
I have this in my basket so its still on the cards if it need to. And i agree better to go for a new one. There are loads to choose from, more than i would of thought.
 

Forrest Gump

CCCUK regional rep
Sorry didn't pit the li k yp to the starter i am.looking at.

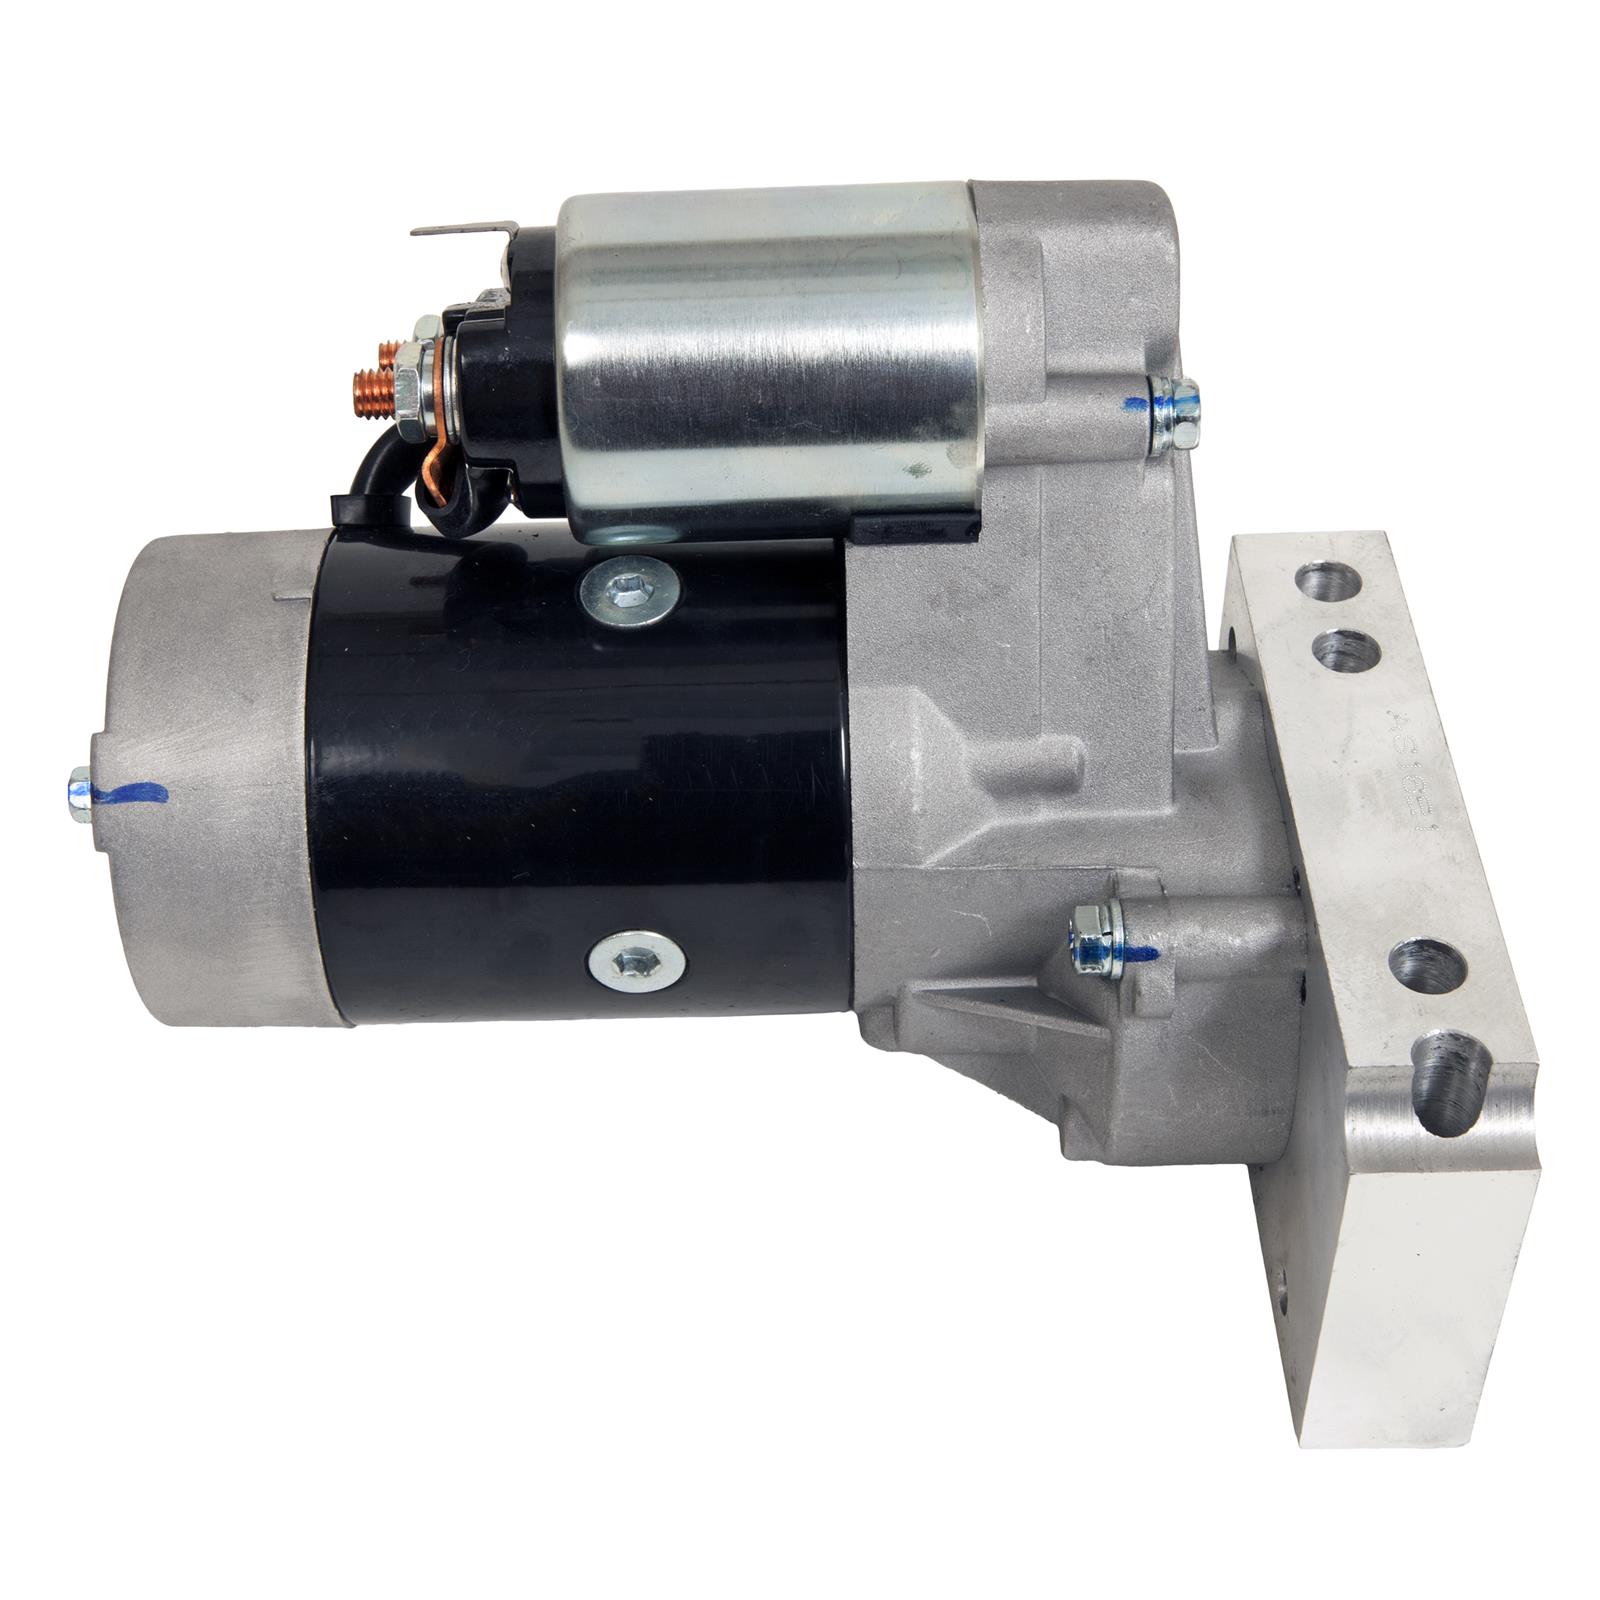
I’ve had Summits own brand one on my car for the last six or seven years. Fitted easily and has worked perfectly to date. It’s actually a Hitachi unit so a well known manufacturer for what it’s worth! Hundreds of good reviews on Summit.

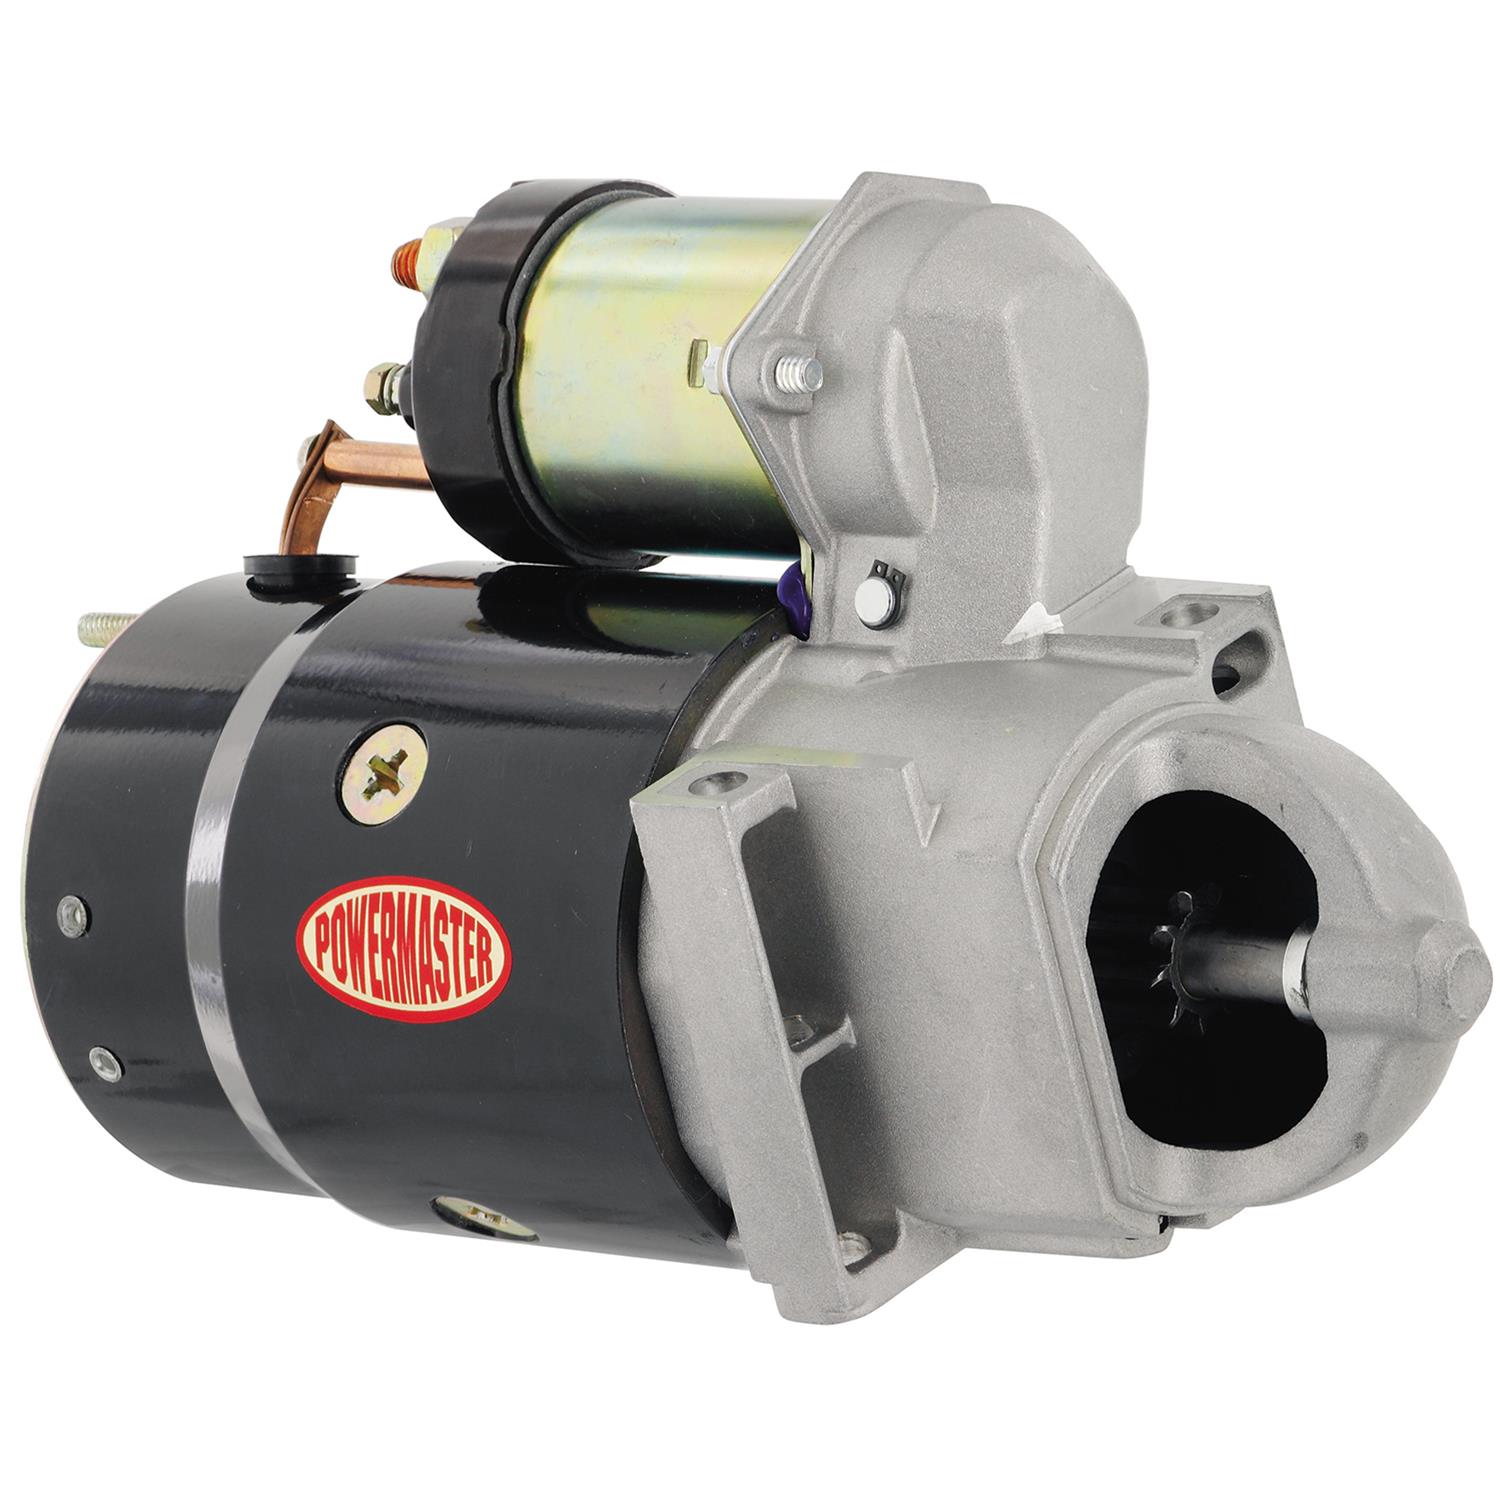
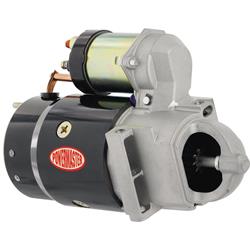
The Powermaster one you’re looking at, one of the first reviews says they couldn’t get it to fit a 79 manual C3. You never know the full story but that is a concern.
 

Waynio

CCCUK Member
I’ve had Summits own brand one on my car for the last six or seven years. Fitted easily and has worked perfectly to date. It’s actually a Hitachi unit so a well known manufacturer for what it’s worth! Hundreds of good reviews on Summit.

The Powermaster one you’re looking at, one of the first reviews says they couldn’t get it to fit a 79 manual C3. You never know the full story but that is a concern.
It the bolt I was more concerned about. Although last night I noticed another bolt hole. I am out thus morning but I'll look again later. Going to paint the chassis aswell today and clean the engine for paint so I'll look more then.
 

Chuffer

CCCUK Member
It the bolt I was more concerned about. Although last night I noticed another bolt hole. I am out thus morning but I'll look again later. Going to paint the chassis aswell today and clean the engine for paint so I'll look more then.
I can`t advise on specific model for you as my lightweight mini starter is on a 1980 Auto . Fitting was a doddle but I have the benefit of a post lift .
 

Forrest Gump

CCCUK regional rep
It the bolt I was more concerned about. Although last night I noticed another bolt hole. I am out thus morning but I'll look again later. Going to paint the chassis aswell today and clean the engine for paint so I'll look more then.
Yep, I think the stock starter is a staggered bolt pattern, but my block was threaded for both straight and staggered. Sounds like yours is too, maybe they all are.
 

Waynio

CCCUK Member
17306561554165334277913654097250.jpg

Well.i spent ages cleaning the engine to go and forget to look at starter mount.
Popped out to take a pic. It's both I reckon. Makes things better still
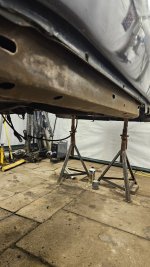
While I amnhere the chassis has also been wazzed back a bit.

17306563028525541111375616920299.jpg


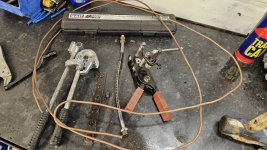
And I removed the brake line so make life easier to be painted. Couple.of ends a re knackered so as I have some brake line and gear I'll see about make new ones up


20241103_133239.jpg

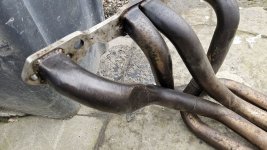
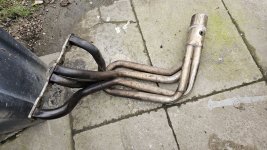
And had a go with the pickling solution if the headers but not a great of luck there. I have had it I t shed for a good 5 years plus though.

20241103_125059.jpg


20241103_125056.jpg
 

Attachments

  • 20241103_112650.jpg
    20241103_112650.jpg
    268 KB · Views: 4
  • 20241103_125051.jpg
    20241103_125051.jpg
    193.9 KB · Views: 2

Roscobbc

Moderator
Think as the starter is off set this will be good.

I am not totally convinced by some of these Mini/geared starters..........perhaps not so bad if fitting to a car with auto transmission as you can remove the bellhousing inspection 'plug' to check the mesh clearance of the pinion/starter ring and 'shim' it. Not so easy to do this on a manual transmissions.
Stock type starter motor pinions have a 'nose' type support bearing which helps to rigidise the starter motor fixing to the engine block. Some stock starter motors had a bracket to the engine block on the front of the starter motor.

pwm-3510_tp_ml.jpg
 

teamzr1

Supporting vendor
When selecting a starter, make sure you're picking one that the teeth of the gear of it is correct
for the type of tranny the car has as different if manual which has a flywheel and an auto tranny has a flex plate
so gear and amount of teeth is different

Also, who smashed in the header pipe for that end cylinder, as that reduces the exhaust flow for it and
effects of that cylinder's charge ?
 

Forrest Gump

CCCUK regional rep
I am not totally convinced by some of these Mini/geared starters..........perhaps not so bad if fitting to a car with auto transmission as you can remove the bellhousing inspection 'plug' to check the mesh clearance of the pinion/starter ring and 'shim' it. Not so easy to do this on a manual transmissions.
Stock type starter motor pinions have a 'nose' type support bearing which helps to rigidise the starter motor fixing to the engine block. Some stock starter motors had a bracket to the engine block on the front of the starter motor.
True, but if the engine is on a stand it’s easy to check. (I remember my Summit one was exactly right as it came out of the box - no shimming required anyway).
I suppose the mini starters do seem a bit lightweight compared to the stock one but they do seem to do the job, at least for the amount of use they get on our “hobby” cars. I had more problems with the old stock one that’s for sure.

Waynio you do have the hole for “straight“ mounting (assuming its threaded). I’m not sure if the staggered mount has much benefit, your existing starter has been managing on just one bolt more or less!

IMG_1601.jpeg
 

Waynio

CCCUK Member
Yep, I think the stock starter is a staggered bolt pattern, but my block was threaded for both straight and staggered. Sounds like yours is too, maybe they all are.


When selecting a starter, make sure you're picking one that the teeth of the gear of it is correct
for the type of tranny the car has as different if manual which has a flywheel and an auto tranny has a flex plate
so gear and amount of teeth is different

Also, who smashed in the header pipe for that end cylinder, as that reduces the exhaust flow for it and
effects of that cylinder's charge ?

My flywheel is 198 tooth, well i counted 85 halfway so near enough.

And well spotted on the header. Not that its difficult not to spot it though hey. I plan to fix that. Not clue what happened as its how it was when it came off. would take a fair old wack to make that dent though.


True, but if the engine is on a stand it’s easy to check. (I remember my Summit one was exactly right as it came out of the box - no shimming required anyway).
I suppose the mini starters do seem a bit lightweight compared to the stock one but they do seem to do the job, at least for the amount of use they get on our “hobby” cars. I had more problems with the old stock one that’s for sure.

Waynio you do have the hole for “straight“ mounting (assuming its threaded). I’m not sure if the staggered mount has much benefit, your existing starter has been managing on just one bolt more or less!

View attachment 28437
Yes it is a threaded hole that one aswell.

I want to sort this out and which to get this week if not tonight so i can put my order in. I have decided to try to rebuild the Quadrajet carb so ill order the rebuild ,kit for that. Pain in the arse i believe to tune up so ill research more on that for when time comes to fit.
 
Top