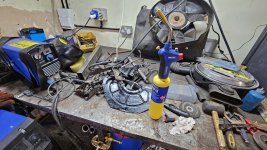
First C3 Vette and luvin it :)

Chuffer

CCCUK Member
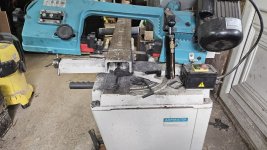
What i would give for room like that. I could make it a little bigger but SWMBO wants what bit of whats left of the garden haha. cant grumble. Would not be a great deal more room either for the work to do it. Love my lathe and mill. not used a great deal but as you will agree i reckon, when needed they really are needed.

More rom though means more stuff collected. So end of the day you cant have enough room. Maybe enough for a 4 poster though.
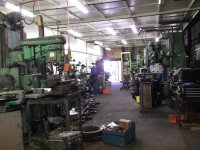
Know just what you mean about having too much space to fill with stuff . I rent just one bay of the unit for the C3 with enough space to work on it as well as having a bench and storage racking but always seem to be filling it with more odds and ends as well as having a small shed cum workshop at home that`s bursting at the seems . The trouble with throwing stuff away is you always find a use for it few weeks later !!! Definitely agree about the use of a lathe and mill when needs must plus access to a welder too as the guy that owns the large unit prepares and rebuilds race cars there and has helped me out on jobs on several occasions .
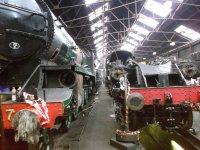
Then when I feel the need for an even bigger workshop and machine shop I go and help restore and overhaul steam locos for a bit of light relief . :LOL: ( see below ) .GCR machine shop.JPGGCR Shed.JPG
Keep up the good work with your C3 and look forward to seeing more as the project progresses .
 

Waynio

CCCUK Member
And for Project ` **** he is going to try to kill himself again part 2 ` haha

Ill ,let you guess whats going on ;)

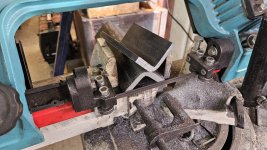
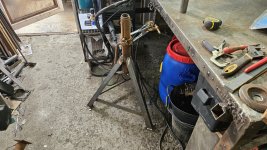
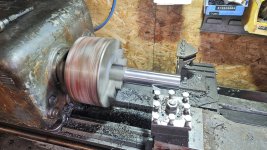
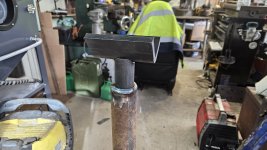
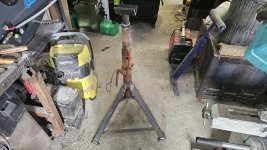
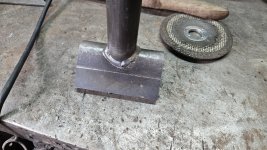
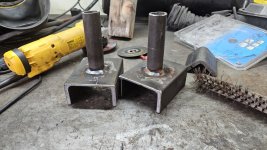
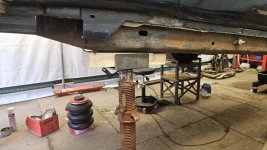
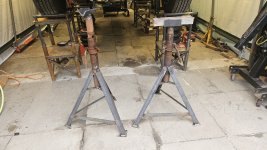
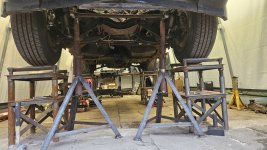
Acro prop/s with some angle iron and flat bar.


20241004-174902.jpg


I am still bleedin waiting for the main parts i need to et the engine built and bits on the list

20240925-201601.jpg


So if all is well ill get the front end lifted to get the suspension stripped and rebuilt in next couple weeks. I was meant to be going away for a couple week in two days but T`s son has had a swelling on the brain and is I CU now so thats cancelled so i have more time to do this inbetween hospital visits.

Saying that i had injections aswell today for trigger finger for the third time and dam it hurts this time so i want to get the car done before surgery as i need to go to see the Orthopedics.


Got a bit more blasting to get done but done a rocker cover the other day. a few hard areas to get into as you can missed a few tough spots. Mite give them another blast with the other parts next week.

20241002-183553.jpg


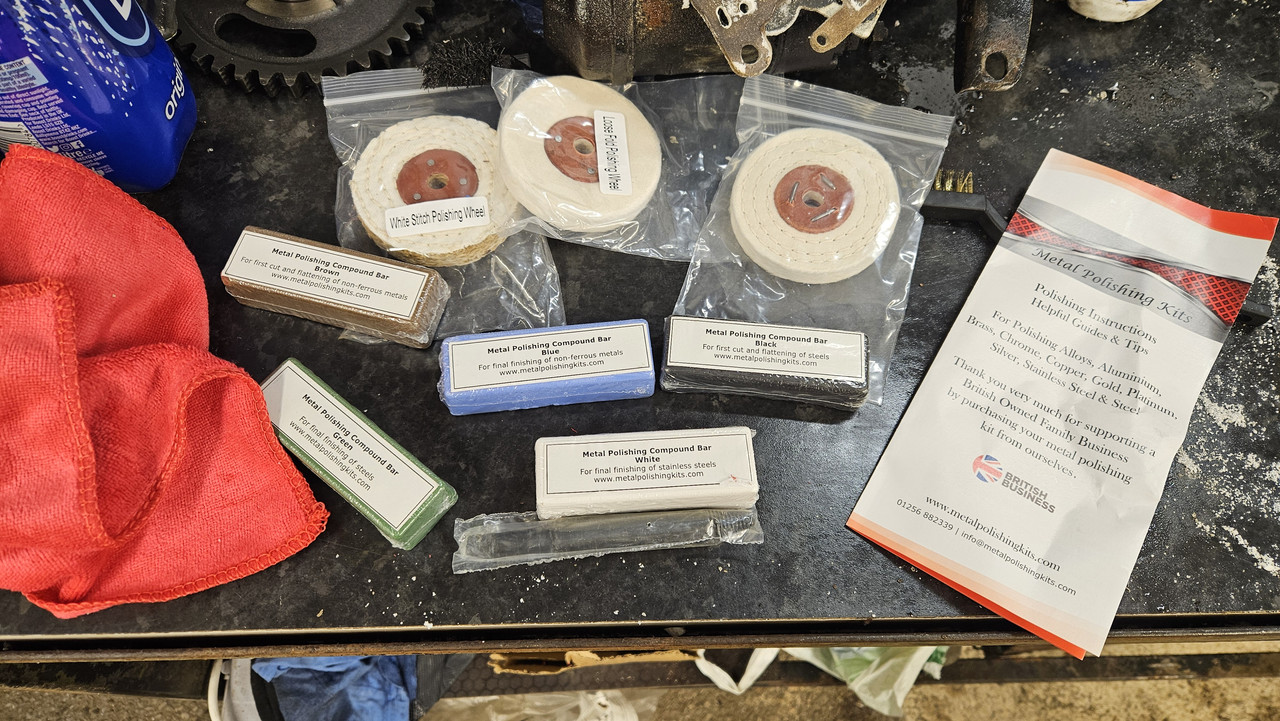
Bought a new polishing kit aswell as the 150mm were a bit big in the drill haha

£18 well spent :) will do the wheels bit at a time over the next few months.

20240930-192858.jpg


I messed up again when stripping the carbs and snapped a spring and a couple screw. just have to drill and tap them up one.


20240929-174956.jpg


got the Dremmel on it and now as said fix that cock up, yes i should of soaked it in release a bit.

20240929-182122.jpg


20240929-192859.jpg


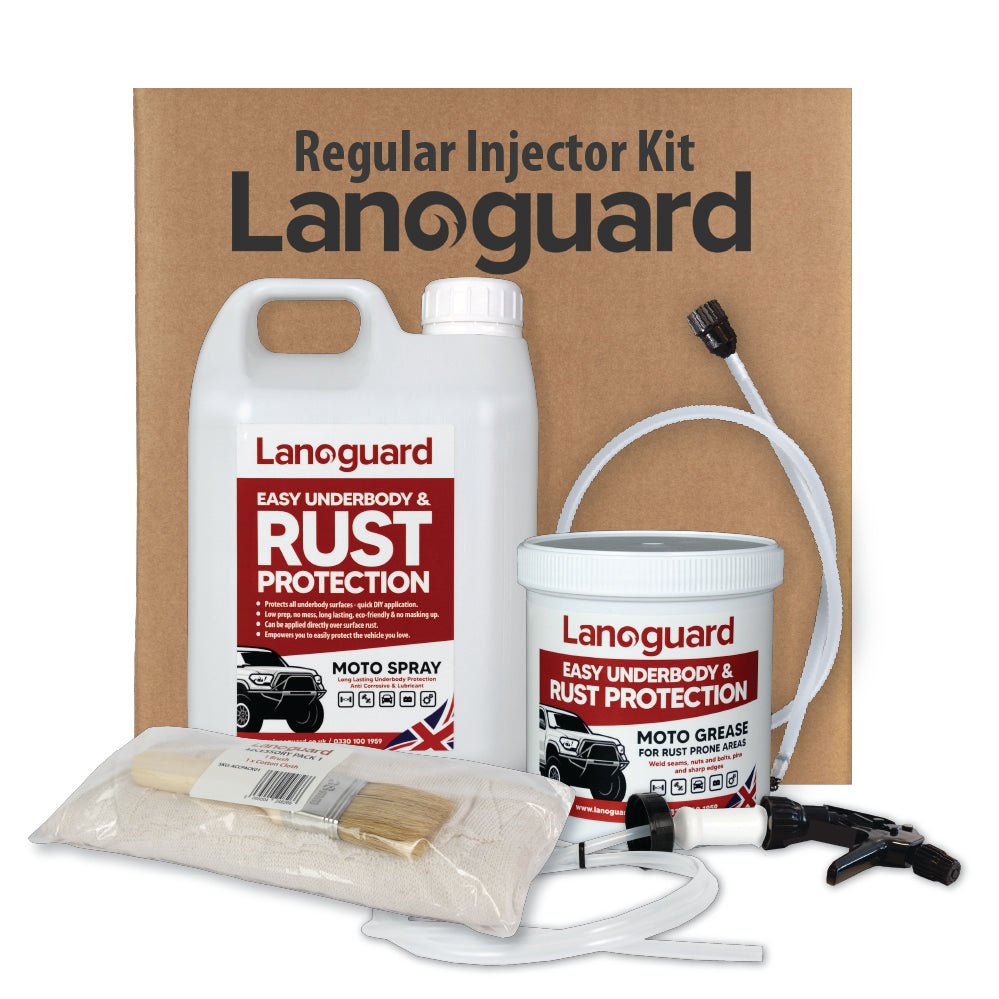
I have decided to get some Lanoguard for the chassis work, this kit to get in the nooks and crannies. I was going to get a 5l and make my own injector kit but why bother....i am getting old and lazy now hey.

www.lanoguard.co.uk

Lanoguard Underbody Rust Protection KitsRegular Injector Kit

Our DIY underbody & chassis rust protection kit gives you everything you need for underbody protection for car & vans - QUICK & EASY. Click here for more info!
www.lanoguard.co.uk
www.lanoguard.co.uk


So wire brush to hand and a dust mass i guess and get cracking this week. once the front end is off.


I have just finished the axle stands today so ill update later when home from hospital.
 

johng

CCCUK Member
That looks like the polishing kit I used, it's time consuming but works well. I'm surprised that my wheels haven't really oxidised much since I did them 4 years ago.
 

Waynio

CCCUK Member
That looks like the polishing kit I used, it's time consuming but works well. I'm surprised that my wheels haven't really oxidised much since I did them 4 years ago.

The ones i were using are off my bench buffer and are excellent, these are just smaller pads. I used to flat back boat window frames with a 120g drum and then polish up. So yep, its time consuming but well worth it hey.

I started to use ACF 50 on the boat aluminium window frames a few years ago and it helps them keep good. Not sure if to bother on these wheels yet.
 

Waynio

CCCUK Member
So today was a good bit gained.

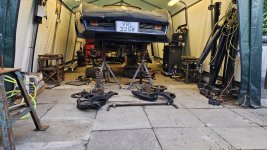
Made set of axle stands so i could drop the suspension so i can clean it up and paint it up with new bushes. And the rest in between.
20241006-100930.jpg20241006-100944 (1).jpg

20241006-101634 (1).jpg20241006-104838.jpg20241006-104842.jpg20241006-105340.jpg20241006-104842.jpg20241006-105340.jpg20241006-111621 (1).jpg

20241006-112744 (1).jpg20241006-113624 (1).jpg20241006-131740.jpg
 

Waynio

CCCUK Member
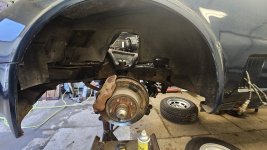
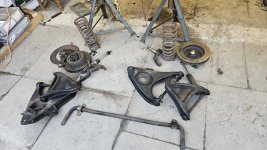
And then stripped it down.

20241006-143053.jpg20241006-145719 (1).jpg20241006-145723.jpg

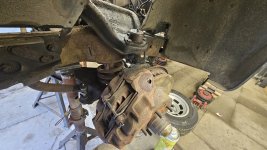
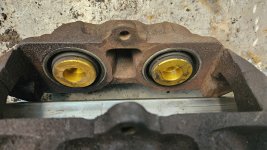
Things keep surprising me here on this car. Calipers have been recently rebuilt by the looks of it.
Ill blast these and repaint them asswell.
20241008-101639.jpg

20241007-110351.jpg

Some people asked and couldnt see why i needed the car so high. I guess they dont do much work on cars. For me this is one reason, good access, i can get inside the engine bay :)

Being careful not to loose or mix up the shims. these will be bagged and tagged.

20241007-143423.jpg

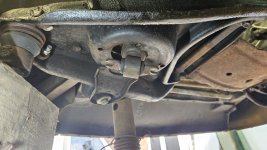
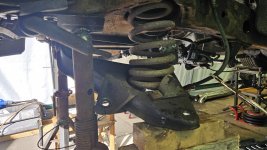
As i was removing the springs the lower are drops and here it shows i didnt set the axle stands far enough away/forward for the lower arms to drop down. Just a quick lift and slide them forward a bit. I set the stands where i did at first due to the ARB mountings being in the way. So ARB removed aswell.


20241007-144752.jpg

And there we have the front end stripped.

20241007-170619.jpg

I have just ordered some chassis paint for this lot so while that is on its way ill degrease it all for pain and new bushes. I mite yet see what will fit in the blast cabinet to ossibly sand blast it all. Just time consuming that.


20241007-170657.jpg

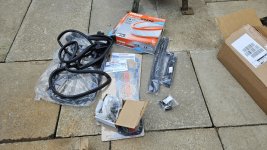
And as i finished some parts had arrived. seals gaskets and head bolts and window pads to see if that will stop/reduce the door windows from wobbling.

20241007-172215.jpg
 

Chuffer

CCCUK Member
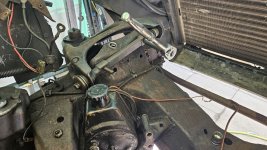
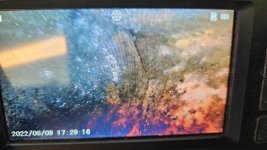
At least the welds on the bracket for the leading control arm mounting ( under power steering pump ) look sound . What is the other side like ? They are a known weak point as the factory welding was pants . I had a scary moment a few years ago when I found mine were parting company from the cross member ! :eek:
 

Waynio

CCCUK Member
At least the welds on the bracket for the leading control arm mounting ( under power steering pump ) look sound . What is the other side like ? They are a known weak point as the factory welding was pants . I had a scary moment a few years ago when I found mine were parting company from the cross member ! :eek:
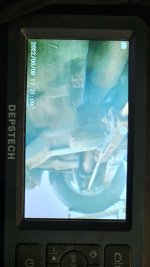
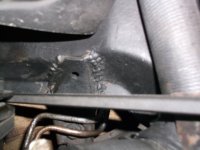
I noticed the state of the welding. I did think of going over it but its been here 43 years. god knows how haha.
I had a check over again and all good/ok.

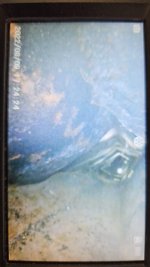
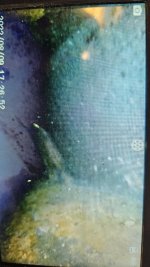
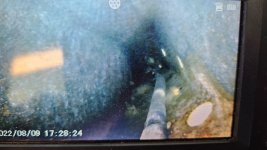
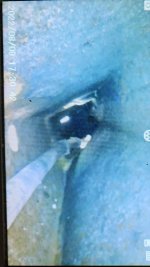
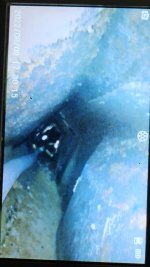
Another bonus is this. I found my Endoscope.

I took these each side in a couple areas each side.

Not bad all :)

20241008_133916.jpg20241008_134144.jpg20241008_134317.jpg20241008_134534.jpg20241008_134507.jpg
 

Attachments

  • 20241008_134408.jpg
    20241008_134408.jpg
    214.2 KB · Views: 0
  • 20241008_134601.jpg
    20241008_134601.jpg
    127.3 KB · Views: 0

Chuffer

CCCUK Member

Chuffer

CCCUK Member
The welds on my brackets were ok when I bought it in 2016 but 6 years later they began to fracture . Best to keep a regular check on them . I told another CCCUK member about the weakness and lo and behold , he had the same problem .
 

Waynio

CCCUK Member
The welds on my brackets were ok when I bought it in 2016 but 6 years later they began to fracture . Best to keep a regular check on them . I told another CCCUK member about the weakness and lo and behold , he had the same problem .
you know for whats its worth i could whizz over with the Mig quick, not much of a job while its stripped. Wont do no harm and only benefit.

Any other areas you can think of that can be weak on the welds ?
 

Roscobbc

Moderator
you know for whats its worth i could whizz over with the Mig quick, not much of a job while its stripped. Wont do no harm and only benefit.

Any other areas you can think of that can be weak on the welds ?
It's popular to tart-up welding on trailing arms to improve rigidity etc.
 

Chuffer

CCCUK Member
you know for whats its worth i could whizz over with the Mig quick, not much of a job while its stripped. Wont do no harm and only benefit.

Any other areas you can think of that can be weak on the welds ?
This is mine welded over and over , not pretty but does the job . The plating to the underside of the main cross member under the engine is only spot welded with a dap here and there on my car . It would be worth running a Mig round that whilst you are at it . As Ross says in his post below , welding webs into the corners of the chassis rails and cross members is a popular add on to increase stability , especially with the race guys . I found some good stuff on Youtube a couple of years back .Corvette weld.JPG
 

Forrest Gump

CCCUK regional rep
I wonder if some of the bushes have already been changed not so long ago? The sway bar bushes and links look bright, as do the A arm bush sleeves in one of the photos
 

Waynio

CCCUK Member
Ill defo take a closer look at the welds. I dont intend to race it but you never know maybe a track day or two.

I wonder if some of the bushes have already been changed not so long ago? The sway bar bushes and links look bright, as do the A arm bush sleeves in one of the photos
Yes it looks liek some of the bushing are newish or in good order. Where as some are cracked. So reason while its all stripped i mite aswell replace all. Have a complete kit to go at.

And for today, not a great deal done.

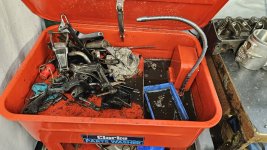
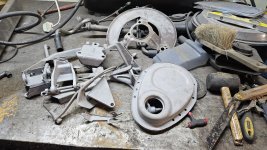
These parts have been soaking in the cleaner for a couple weeks i think. I just gave thema wipe over and near good enough but to be sure....

20241009-093308.jpg


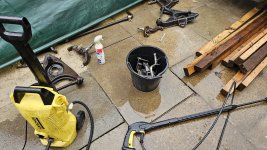
Out side for a pressure wash along with the suspension components.

20241009-093355.jpg20241009-094247.jpg

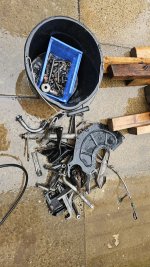
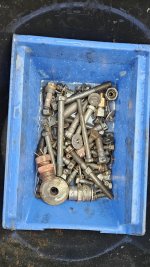
Keeping all bolts in a tub in a buckets works a treat

20241009-094252.jpg


Then in the shed for a drying and blast.

20241009-100055.jpg

The back plate ill leave along with the other as i have a rust treatment coming with chassis paint this week.

20241009-162702.jpg

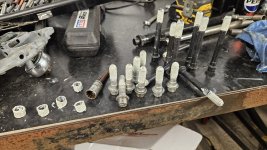
Today as parts had arrived the other day i wanted to get the cylinder heads back on. Again problems.
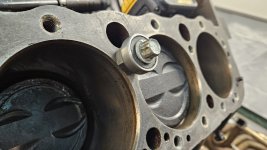
First off i only received one set of head bolts in my order so that will take another few weeks to arrive. And as i was at it i went to fit one head atleast. ONLY to find another head bolt hole had stripped in the block.

I decided to whip the head off as it was only down to around 25lbs. And go through all with a bolt to see if more will strip.
Glad i did as in the end i had a total of five needed Helicoiling. No problem and i am still tempted to just Helicoil them all.

Just used bolt and spacer to torq down to.20241009-123734.jpg


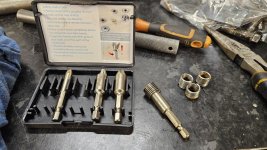
Then as i iad i forgot to seal the Helicoils so had to remove them with a stud extractor.

20241009-160108.jpg


Then treat all the new set with a little mote PTFE an the Helicoils. I will fit them tomorrow or day after once the PTFE has set.

20241009-155314.jpg

Good bit done really as its all prep for painting the parts.
 

Mad4slalom

Well-known user
Ill defo take a closer look at the welds. I dont intend to race it but you never know maybe a track day or two.


Yes it looks liek some of the bushing are newish or in good order. Where as some are cracked. So reason while its all stripped i mite aswell replace all. Have a complete kit to go at.

And for today, not a great deal done.

These parts have been soaking in the cleaner for a couple weeks i think. I just gave thema wipe over and near good enough but to be sure....

View attachment 28209


Out side for a pressure wash along with the suspension components.

View attachment 28210View attachment 28211

Keeping all bolts in a tub in a buckets works a treat

View attachment 28212


Then in the shed for a drying and blast.

View attachment 28213

The back plate ill leave along with the other as i have a rust treatment coming with chassis paint this week.

View attachment 28216

Today as parts had arrived the other day i wanted to get the cylinder heads back on. Again problems.
First off i only received one set of head bolts in my order so that will take another few weeks to arrive. And as i was at it i went to fit one head atleast. ONLY to find another head bolt hole had stripped in the block.

I decided to whip the head off as it was only down to around 25lbs. And go through all with a bolt to see if more will strip.
Glad i did as in the end i had a total of five needed Helicoiling. No problem and i am still tempted to just Helicoil them all.

Just used bolt and spacer to torq down to.View attachment 28217


Then as i iad i forgot to seal the Helicoils so had to remove them with a stud extractor.

View attachment 28215


Then treat all the new set with a little mote PTFE an the Helicoils. I will fit them tomorrow or day after once the PTFE has set.

View attachment 28214

Good bit done really as its all prep for painting the parts.
Blimey , you dont mess around. Straight in amongst it 👍
 

Roscobbc

Moderator
Ill defo take a closer look at the welds. I dont intend to race it but you never know maybe a track day or two.


Yes it looks liek some of the bushing are newish or in good order. Where as some are cracked. So reason while its all stripped i mite aswell replace all. Have a complete kit to go at.

And for today, not a great deal done.

These parts have been soaking in the cleaner for a couple weeks i think. I just gave thema wipe over and near good enough but to be sure....

View attachment 28209


Out side for a pressure wash along with the suspension components.

View attachment 28210View attachment 28211

Keeping all bolts in a tub in a buckets works a treat

View attachment 28212


Then in the shed for a drying and blast.

View attachment 28213

The back plate ill leave along with the other as i have a rust treatment coming with chassis paint this week.

View attachment 28216

Today as parts had arrived the other day i wanted to get the cylinder heads back on. Again problems.
First off i only received one set of head bolts in my order so that will take another few weeks to arrive. And as i was at it i went to fit one head atleast. ONLY to find another head bolt hole had stripped in the block.

I decided to whip the head off as it was only down to around 25lbs. And go through all with a bolt to see if more will strip.
Glad i did as in the end i had a total of five needed Helicoiling. No problem and i am still tempted to just Helicoil them all.

Just used bolt and spacer to torq down to.View attachment 28217


Then as i iad i forgot to seal the Helicoils so had to remove them with a stud extractor.

View attachment 28215


Then treat all the new set with a little mote PTFE an the Helicoils. I will fit them tomorrow or day after once the PTFE has set.

View attachment 28214

Good bit done really as its all prep for painting the parts.
I find it really strange that you are having more than just one odd thread strip-out bolding the head down on to the block........makes me wonder if a previous owner has used tried to tighten down the heads with aftermarket bolts that are slightly too long (and/or the threaded shoulder on head bolts wasn't tapped far enough along the shank of the bolt.......resulting perhaps in the bolts 'bottoming-out' in the threaded hole stripping?
 

Waynio

CCCUK Member
Blimey , you dont mess around. Straight in amongst it

👍
I just cant help myself and love a good project and above all want it on the road. To say all i need to do was get the engine running and service the brakes to be sure, i am doing all this. One job leads to the next. Its all i am doing though, the suspension and chassis refurb and brakes for now. Oh and engine.


I find it really strange that you are having more than just one odd thread strip-out bolding the head down on to the block........makes me wonder if a previous owner has used tried to tighten down the heads with aftermarket bolts that are slightly too long (and/or the threaded shoulder on head bolts wasn't tapped far enough along the shank of the bolt.......resulting perhaps in the bolts 'bottoming-out' in the threaded hole stripping?

Puzzled me as you. For as many as this somebody must of done something to upset the threads. I could look into the bolts that were in but it does not matt r now. i have a new Felpro set going in. Just need to decide if to Helicoil them all.Give a lot stronger old aswell when Helicoild.
 

Roscobbc

Moderator
I had a stripped water pump securing bolt on my big block engine. With only three bolts of the same size bit one of perhaps 1/2" longer securing the pump to the engine block it seems that someone in the past had used the longer bolt in a shorter bolt position.......perhaps them overtighened it, bottoming-out in the 'blind' tapping in the block and stripping the thread. Water leaks from under the water pump where it secures to the block were a continual problem. The 'tappings' in the engine block are 'blind'......so if drill and tapping them fractionally oversize to accept a Helicoil or Timesert they don't work so well when the new tap provided (for the new thread you'll need to cut) is equivalent to a first or intermediate tap with no final or non tapered 'plug' tap allowing a thread to be cut the complete depth of the 'blind' hole.
Ordinarily it wouldn't be a issue......you would simply drill deeper down in to the 'blind' hole.........problem being the risk of 'piercing' the water gallery........and being cast iron, not the easiest material to cut a thread in to.......and even worse it being on the front of the block access is poor so to dothe job really well its an engine-out job..........
 
Top