You are using an out of date browser. It may not display this or other websites correctly.
You should upgrade or use an alternative browser.
You should upgrade or use an alternative browser.
First C3 Vette and luvin it :)
- Thread starter Waynio
- Start date
teamzr1
Supporting vendor
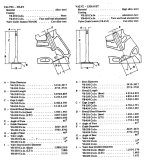
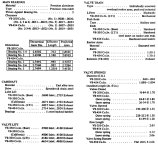
Here is GM specs for 1972 C3 small block
Does the kit you're getting what ratio are they, being stock is 1.5.0 maybe go with 1.7 ?
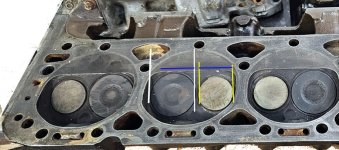
Look at label D for both inlet and exhaust below here for valve face diameter
----------------------------------------------------------------------------------- ..................----------------------------------------------------------------------------


Last edited:
Ok after a bit of advice and research here is a shopping list
Cant decide on a clutch yet.
 www.jegs.com
Cant decide on a clutch yet.
Shopping Cart - JEGS High Performance
Try this way
 www.jegs.com
 www.jegs.com
 www.jegs.com
I already have new set of hyd flat lifters.
Ans will be using the Quad Carn i have. I'll juat clean strip tune.
COMP Cams 12-205-2: High Energy 252H Hydraulic Flat Tappet Camshaft Lift: .425" /.425" Duration: 252°/252° RPM Range: 800-4800 C.A.R.B. Approved* - JEGS
*Note: 50-State Legal for 1987 & earlier carbureted V-8 Small Block Chevy 262-400 C.A.R.B. E.O. #D-279-3, D-279-5, D-279-6. **Note: In order to use these camshafts in 1955-57 265ci blocks, it is necessary to machine a small groove in the rear main journal of the cam to allow oil flow to the top...
RPC R1102: Satin SB Chevy 1957-95 302 327 and 350 V8 Dual Plane Manifold - JEGS
Get the Best Performance with RPC Satin SB Chevy 1957-95 302 327 and 350 V8 Dual Plane Manifold R1102 parts at JEGS. Shop Now at the Guaranteed Lowest Price!
Speedmaster PCE281.2010: Cast Aluminum Cylinder Head Small Block Chevy 350 w/Hydraulic Flat Tappet Cam - JEGS
Get the Best Performance with Speedmaster Cast Aluminum Cylinder Head Small Block Chevy 350 w/Hydraulic Flat Tappet Cam PCE281.2010 parts at JEGS. Shop Now at the Guaranteed Lowest Price!
I already have new set of hyd flat lifters.
Ans will be using the Quad Carn i have. I'll juat clean strip tune.
johng
CCCUK Member
I'm no engine expert, but lots of people on the US forum recommend this intake manifold and it's $90 cheaper.
Edelbrock 2101: Performer Intake Manifold for 1955-1986 Small Block Chevy - JEGS
Edelbrock 2101: Performer Intake Manifold for 1955-1986 Small Block Chevy - JEGS
teamzr1
Supporting vendor
If buying that set of heads better do it soon as it states only 1 set left in stock
What about pushrods, and rockers ?
New bolts for heads, intake and headers
Also heads, intake, header, and carb gaskets
and gasket if needed for belling housing, new pilot bushing for flywheel. New U-joints for driveshaft
You have a tool like shows on Jegs to pull out and insert the CAM correctly ?
Or a CAM degree wheel, so knowing if installing CAM straight up, or you're degreeing it ?
Lube to use on CAM when installing
teamzr1
Supporting vendor
Ok after a bit of advice and research here is a shopping list
Cant decide on a clutch yet.
Shopping Cart - JEGS High Performance
www.jegs.com
As to a complete clutch replacement
I and many others go to for decades as they do not just sell, but they also make these
McLeod Racing
They make clutches kits, pressure plates, stock or lightweight flywheels, I had them make me a super lightweight one that was only 7 pounds
They have street, Pro and extreme clutch models
They have single or multi disc clutches,
Here is for 1972 C3s

Here are the flywheels

Flywheels
McLeod is proud to offer durable steel, aluminum, chromoly and nodular flywheels. All McLeod flywheels come balanced and SFI-Approved.
If buying that set of heads better do it soon as it states only 1 set left in stock
What about pushrods, and rockers ?
New bolts for heads, intake and headers
Also heads, intake, header, and carb gaskets
and gasket if needed for belling housing, new pilot bushing for flywheel. New U-joints for driveshaft
You have a tool like shows on Jegs to pull out and insert the CAM correctly ?
Or a CAM degree wheel, so knowing if installing CAM straight up, or you're degreeing it ?
Lube to use on CAM when installing
All i am trying to work out is the kit to get. All the other bits are easy to work out what buy.
I have seen these heads and also been told these will be good or better / livelier for a street car, more if i swap the 2.72 diff for a 3.73. but thats a future thing. I just wnat to get all the gear together for a couple week off this Christmas and get stuck in.
ProMaxx Performance 9183: 183 Series Aluminum Cylinder Heads Small Block Chevy Straight Plug - JEGS
Get the Best Performance with ProMaxx Performance 183 Series Aluminum Cylinder Heads Small Block Chevy Straight Plug 9183 parts at JEGS. Shop Now at the Guaranteed Lowest Price!
Speedmaster PCE281.2004: Cast Aluminum Cylinder Head Small Block Chevy 350 w/Hydraulic Flat Tappet Cam - JEGS
Chevy SBC 350 190cc 64cc Straight Hydr-FT Complete Aluminum Cylinder Heads
Mad4slalom
Well-known user
I can see you mean business wanio! Got stuck in there straight away, did you get caught out without the plastic bag over the gearbox tailshaft housing to catch that verrry smellly oilAll i am trying to work out is the kit to get. All the other bits are easy to work out what buy.
I have seen these heads and also been told these will be good or better / livelier for a street car, more if i swap the 2.72 diff for a 3.73. but thats a future thing. I just wnat to get all the gear together for a couple week off this Christmas and get stuck in.
ProMaxx Performance 9183: 183 Series Aluminum Cylinder Heads Small Block Chevy Straight Plug - JEGS
Get the Best Performance with ProMaxx Performance 183 Series Aluminum Cylinder Heads Small Block Chevy Straight Plug 9183 parts at JEGS. Shop Now at the Guaranteed Lowest Price!www.jegs.com
Speedmaster PCE281.2004: Cast Aluminum Cylinder Head Small Block Chevy 350 w/Hydraulic Flat Tappet Cam - JEGS
Chevy SBC 350 190cc 64cc Straight Hydr-FT Complete Aluminum Cylinder Headswww.jegs.com
Looking forward to following this build
Mad4slalom
Well-known user
Just looked at the engine rebuild report, mine was a 4 bolt main block , had a rebore to 356 cu inches, iron heads with 2.02 / 1.94 valves . Flat top pistons giving 9.75/1 compression.
Aluminuum performance inlet manifold , and holley 650 d. Pumper carb.
Comp cams 12/246-3 grind xe274 h -10.
Giving 355-365 hp at 5500rpm and 385 ft pounds of torque at4200rpm. Re worked oil pump . So not too expensive a build but gives a nice street motor.
Aluminuum performance inlet manifold , and holley 650 d. Pumper carb.
Comp cams 12/246-3 grind xe274 h -10.
Giving 355-365 hp at 5500rpm and 385 ft pounds of torque at4200rpm. Re worked oil pump . So not too expensive a build but gives a nice street motor.
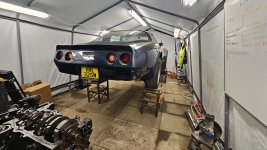
As oi have ordered the parts i need and waiting in hope they arrive This weeks jobs was finish the lift i have been making.
As i need to make life easier i wanted to get it to a decent height. in this case 85cm to bottom of wheel height.
Hardest faff was getting it to 50cm to get it ot the lift. But my god it works a treat and easy
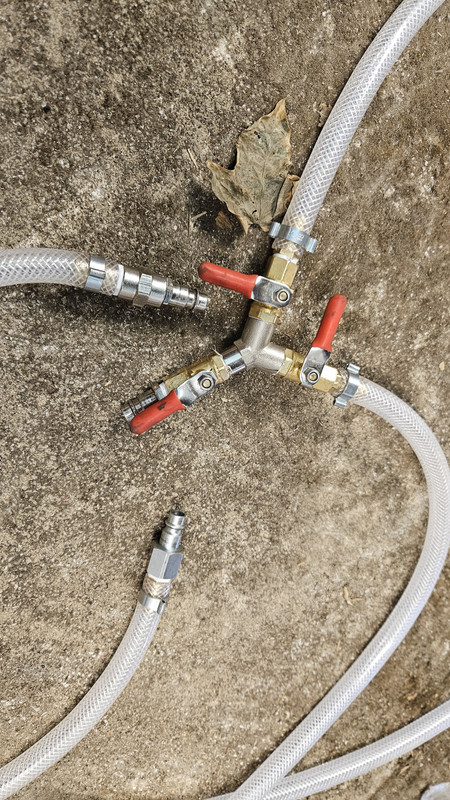
I have a couple air jacks of 3ton each. made some air lines up to use them independently.
Some folk think i am mental but hey ho. It works nice and easy. I love to make stuff so a project in itself.
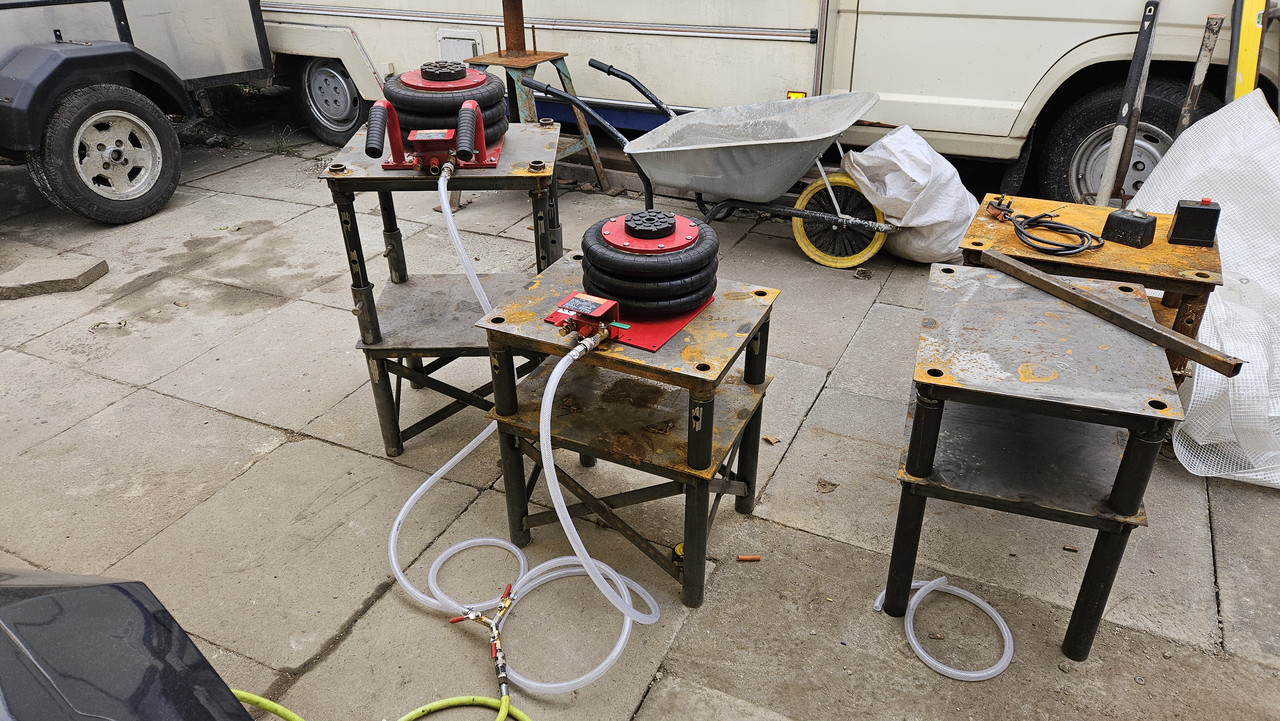
So now i have easey access to the wheel arches and can sit on my chair underneath nice and comfy and saved a LOT of money.
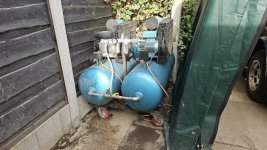
I set up the two compressors to run inline for more capacity.

I jacked the rear first and front in sections to get it to the 50cm with a jacking beam, or a length of RHS.


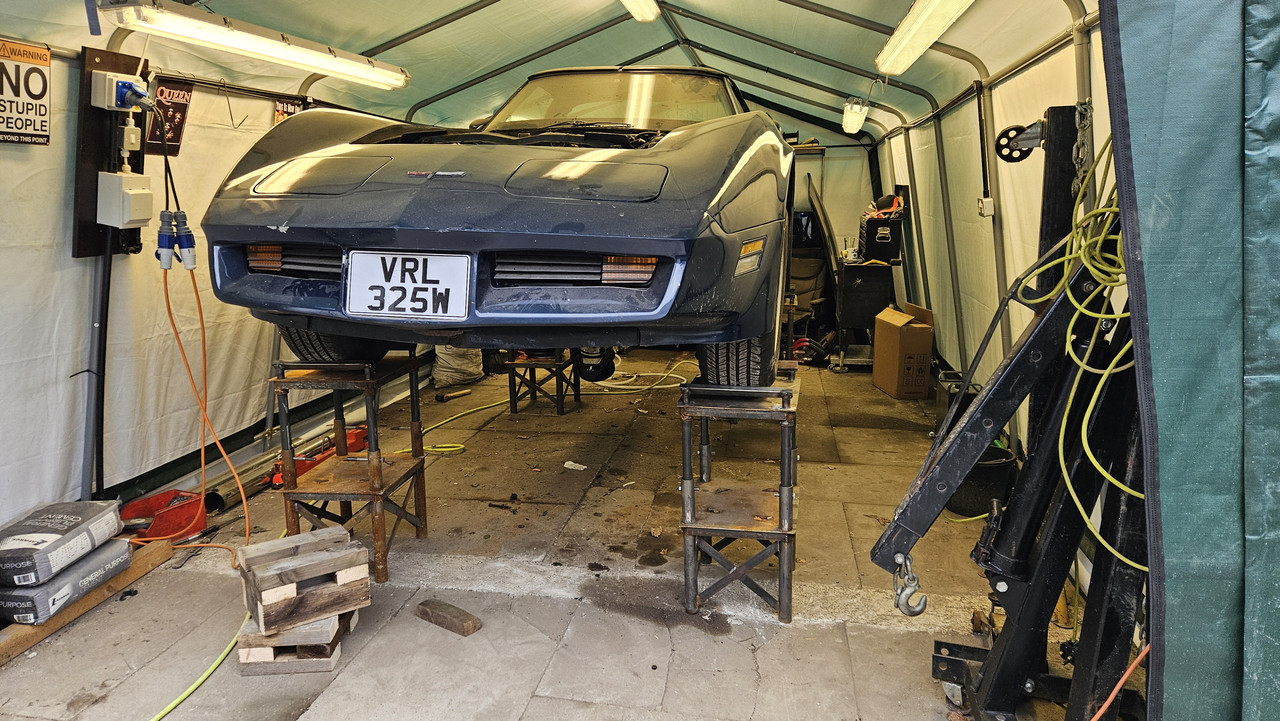
Now to me these are safer than axles stands where some folk think different. But while under a car i would rather this than a axle stands.
So time to crack on with it
As i need to make life easier i wanted to get it to a decent height. in this case 85cm to bottom of wheel height.
Hardest faff was getting it to 50cm to get it ot the lift. But my god it works a treat and easy
I have a couple air jacks of 3ton each. made some air lines up to use them independently.
Some folk think i am mental but hey ho. It works nice and easy. I love to make stuff so a project in itself.

So now i have easey access to the wheel arches and can sit on my chair underneath nice and comfy and saved a LOT of money.
I set up the two compressors to run inline for more capacity.

I jacked the rear first and front in sections to get it to the 50cm with a jacking beam, or a length of RHS.


Now to me these are safer than axles stands where some folk think different. But while under a car i would rather this than a axle stands.
So time to crack on with it
So little to show but not been sat on my arse doing nowt. Never do thats why i am soo looking forward to my holiday in a weeks time 
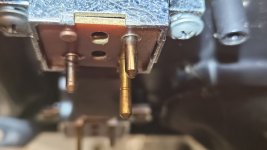
For this job i had to lower the car as this is to get the window switches out and door switches also as there a bit sticky.
Found to be a real easy job to do. two screws on side panel/s
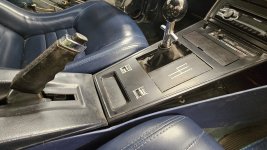
then two at the bottom of the console, this had been done before as the screw heads were 10 and 8mm.
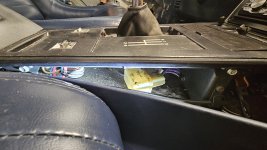
Then just Two small screws for the switches then they come out
Then one either side of the front facia
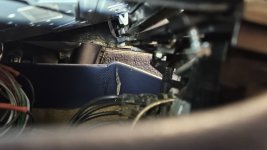
Sorry pics in wrong order but you bet the idea.
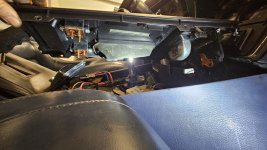
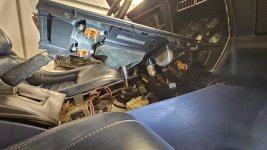
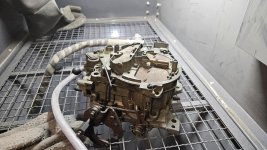
So all these are going in the cleaner soon. Just want to strip the carb down once i have.....................
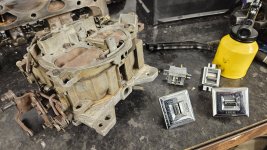
Given it a blast in the cabinet.
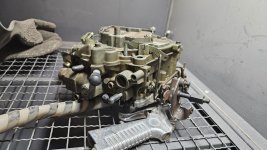
After emptying the Allly oxide was cleared, that itself as a faff as i dont want any clogging the carb up. Then i added about 5kg into the cabinet of Bi Carb. After a fettle to the feed set up it worked pritty well, first time i have used Bi Carb in a cabinet, very dusty as expected and difficult to see at time but with the vac connect it cleared in seconds to carry on.
I am in the process ofmaking a propper filer system so i jsut connect the vac diect to the cabinet.
For this job i had to lower the car as this is to get the window switches out and door switches also as there a bit sticky.

Found to be a real easy job to do. two screws on side panel/s

then two at the bottom of the console, this had been done before as the screw heads were 10 and 8mm.

Then just Two small screws for the switches then they come out

Then one either side of the front facia

Sorry pics in wrong order but you bet the idea.


So all these are going in the cleaner soon. Just want to strip the carb down once i have.....................

Given it a blast in the cabinet.

After emptying the Allly oxide was cleared, that itself as a faff as i dont want any clogging the carb up. Then i added about 5kg into the cabinet of Bi Carb. After a fettle to the feed set up it worked pritty well, first time i have used Bi Carb in a cabinet, very dusty as expected and difficult to see at time but with the vac connect it cleared in seconds to carry on.
I am in the process ofmaking a propper filer system so i jsut connect the vac diect to the cabinet.
Attachments
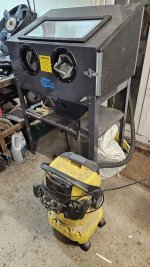
run with these
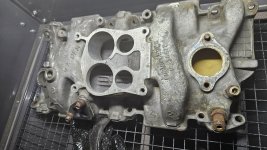
Oh yes i did this with the Ally Oxide when i first tried the cabinet out the other week.
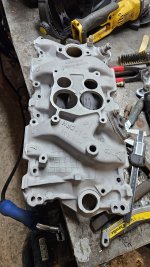
Carb came up not to bad. could be better but its cleaned up ok. Looks good in the dust hey haha
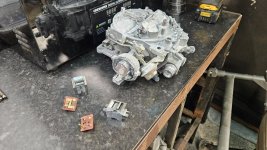
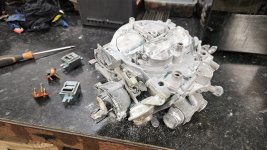
This weekend ill stick hen in the cleaner, although the lock switches have loosed up nice with a soak in WD40. But ill have split the switch panel from the window switches and ill add then to the cleaner aswell. Its a good size cleaner so i want to not waste the anything.
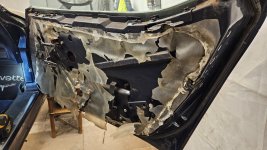
It looks like the passenger side door panel hasnt been removed much as this is what i found once it was removed. all the other plastic sheet had fell off. in better nick than me and its near as old as me/
i removed the oil pan, dont know why but i did while i was cleaning the block up. AND found it s 4 bolt
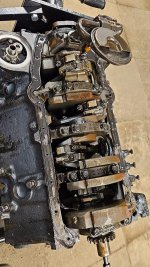
Need a new sump gasket now as the ones i have are single dipstick. No rush though so ill sort one later. Found a couple places to get one from. But i probably get one with the other bits i know ill need in a couple months on my new shopping list.
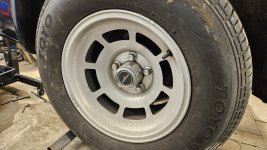
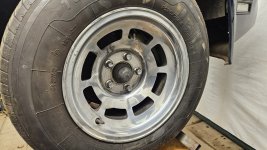
And last of all i think, i started on polishing up the wheels
comes up ok i reckon.
Chuffer
CCCUK Member
A real industrial set up you have there , grit blaster cabinet and all ! Very impressive .View attachment 28045
run with these
View attachment 28046
View attachment 28047
Oh yes i did this with the Ally Oxide when i first tried the cabinet out the other week.
View attachment 28048
Carb came up not to bad. could be better but its cleaned up ok. Looks good in the dust hey haha
View attachment 28049
View attachment 28050
This weekend ill stick hen in the cleaner, although the lock switches have loosed up nice with a soak in WD40. But ill have split the switch panel from the window switches and ill add then to the cleaner aswell. Its a good size cleaner so i want to not waste the anything.
It looks like the passenger side door panel hasnt been removed much as this is what i found once it was removed. all the other plastic sheet had fell off. in better nick than me and its near as old as me/
View attachment 28051
i removed the oil pan, dont know why but i did while i was cleaning the block up. AND found it s 4 boltThen i was told most/all crate Goodwrench engines are 4 bolt. still not a bad thing.
View attachment 28052
Need a new sump gasket now as the ones i have are single dipstick. No rush though so ill sort one later. Found a couple places to get one from. But i probably get one with the other bits i know ill need in a couple months on my new shopping list.
And last of all i think, i started on polishing up the wheels
comes up ok i reckon.
View attachment 28054
View attachment 28055
Thanks but not Industrial just hobby gear really. Inexpensive towards Industrial. Does the job though.A real industrial set up you have there , grit blaster cabinet and all ! Very impressive .
Chuffer
CCCUK Member
Still an impressive set up for hobby gear Waynio and lucky to have it all on your doorstep . But I can`t complain thoughThanks but not Industrial just hobby gear really. Inexpensive towards Industrial. Does the job though.
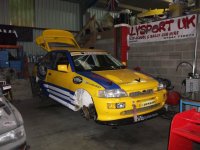
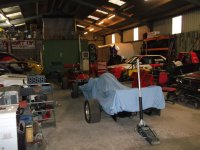
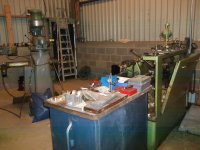
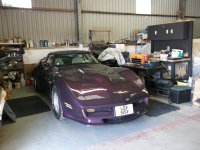 as my C3 lives in a rental space in a pro racing workshop just a 9 mile drive from home with access to a post lift , lathe and milling machine and compressed air gear . No grit blaster though , must add that to the wish list !
 Forgot the lathe and milling machine !!View attachment 28059
What i would give for room like that. I could make it a little bigger but SWMBO wants what bit of whats left of the garden haha. cant grumble. Would not be a great deal more room either for the work to do it. Love my lathe and mill. not used a great deal but as you will agree i reckon, when needed they really are needed.
More rom though means more stuff collected. So end of the day you cant have enough room. Maybe enough for a 4 poster though.


